Woodworking Terms Every Beginner Should Know (Your Ultimate Guide)
If you’ve just started woodworking, you’ve probably heard folks throwing around words like kerf, snipe, or riving knifeand wondered if they were even speaking English. Don’t worry — we’ve all been there!
In this guide, we’ll break down the most common woodworking terms so you can walk into a lumber store or tool shop with confidence. You’ll learn what these words mean, why they matter, and how understanding them will make you a safer, smarter woodworker.
Whether you’re cutting boards on your table saw or routing edges for a project, this guide will help you speak fluent “woodworker.”
Affiliate Disclaimer
This post contains affiliate links, which means I may earn a small commission if you buy through them—at no extra cost to you. It helps keep the tool deals coming, so thanks for your support! Prices are valid at the time of posting but are subject to change at any time.
Watch The Full Youtube Video Here: This Is Why Most Beginners Quit Woodworking
General Woodworking Terms (The Foundation)
Before we start cutting, drilling, or gluing, let’s get the basics down.
Kerf
Kerf refers to the width of the cut your saw blade makes. A thin-kerf blade removes less material (great for small job-site saws with smaller motors), while a full-kerf blade is thicker and used on more powerful cabinet saws.
👉 Pro Tip: If you’re running a job-site saw like the SKIL Table Saw, use a thin-kerf blade for smoother, easier cuts.
Recommended Blades:
Flush and Proud
When two boards meet perfectly flat, they’re flush.
If one board sticks out slightly above the other, it’s proud.
You’ll want your joints flush for furniture pieces — proud is for your chest, not your workpieces!
Pilot Hole and Countersink
A pilot hole is a small hole drilled before driving a screw to prevent splitting.
A countersink lets the screw head sit below the surface of the wood — for a clean, professional look.
✅ Grab a Countersink Bit Set for your shop — a must-have for any beginner.
Chamfer and Roundover
Both are ways to ease sharp edges:
A chamfer cuts the edge at an angle (great for a modern look).
A roundover uses a router bit to create a soft, curved edge.
You can pick up a full set of quality bits like this Bosch Router Bit Set or start with a Roundover Bit and Chamfer Bit.
Dry Fit
This just means assembling your project without glue or screws to make sure everything lines up. Always dry-fit before final assembly — it’ll save you from a world of headaches.
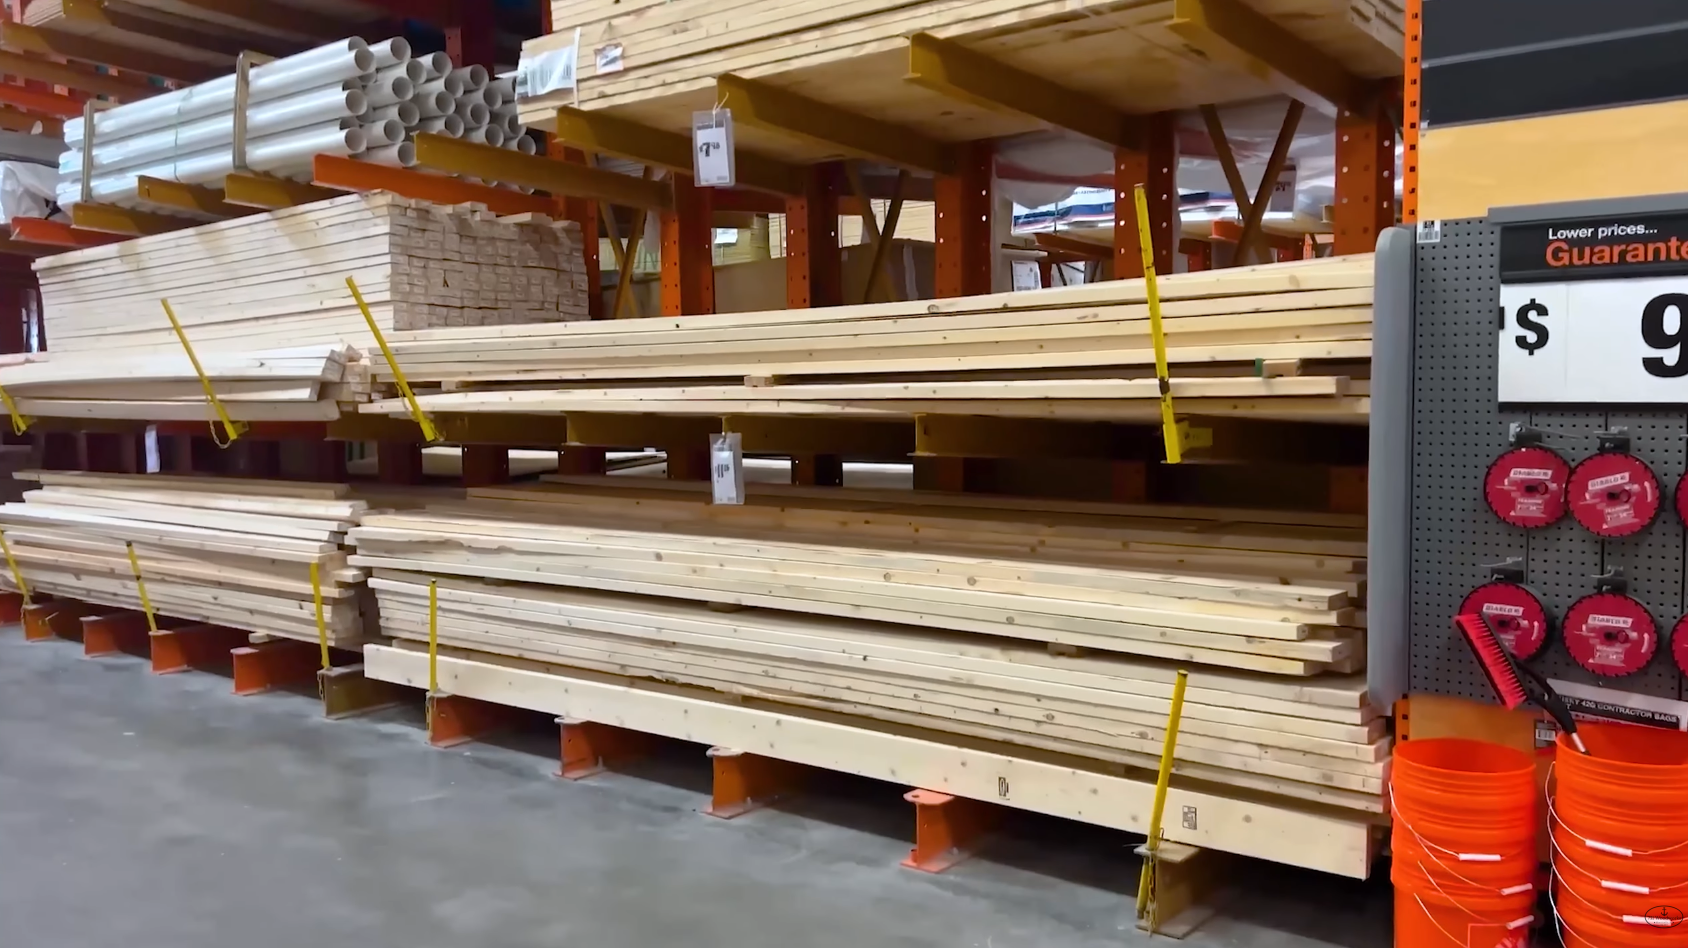
Understanding Lumber Terms
When you walk into a hardwood dealer, you’ll hear terms like four-quarter or S4S. Let’s break those down.
Board Thickness: “Four-Quarter”
Hardwood is often sold by thickness in quarters of an inch.
4/4 (Four-Quarter) = 1 inch thick
8/4 (Eight-Quarter) = 2 inches thick
S2S, S3S, S4S
These refer to how many sides have been surfaced smooth:
S2S = surfaced two sides
S4S = surfaced all four sides (ready to go!)
Board Feet
Hardwood is priced by the board foot — 12” x 12” x 1”. You can use a board foot calculator online to price your project wood easily.
Common Wood Defects
When picking boards:
Bow – curved along the length
Cup – curved across the width
Twist – corners don’t sit flat
Always sight down the board before you buy it.
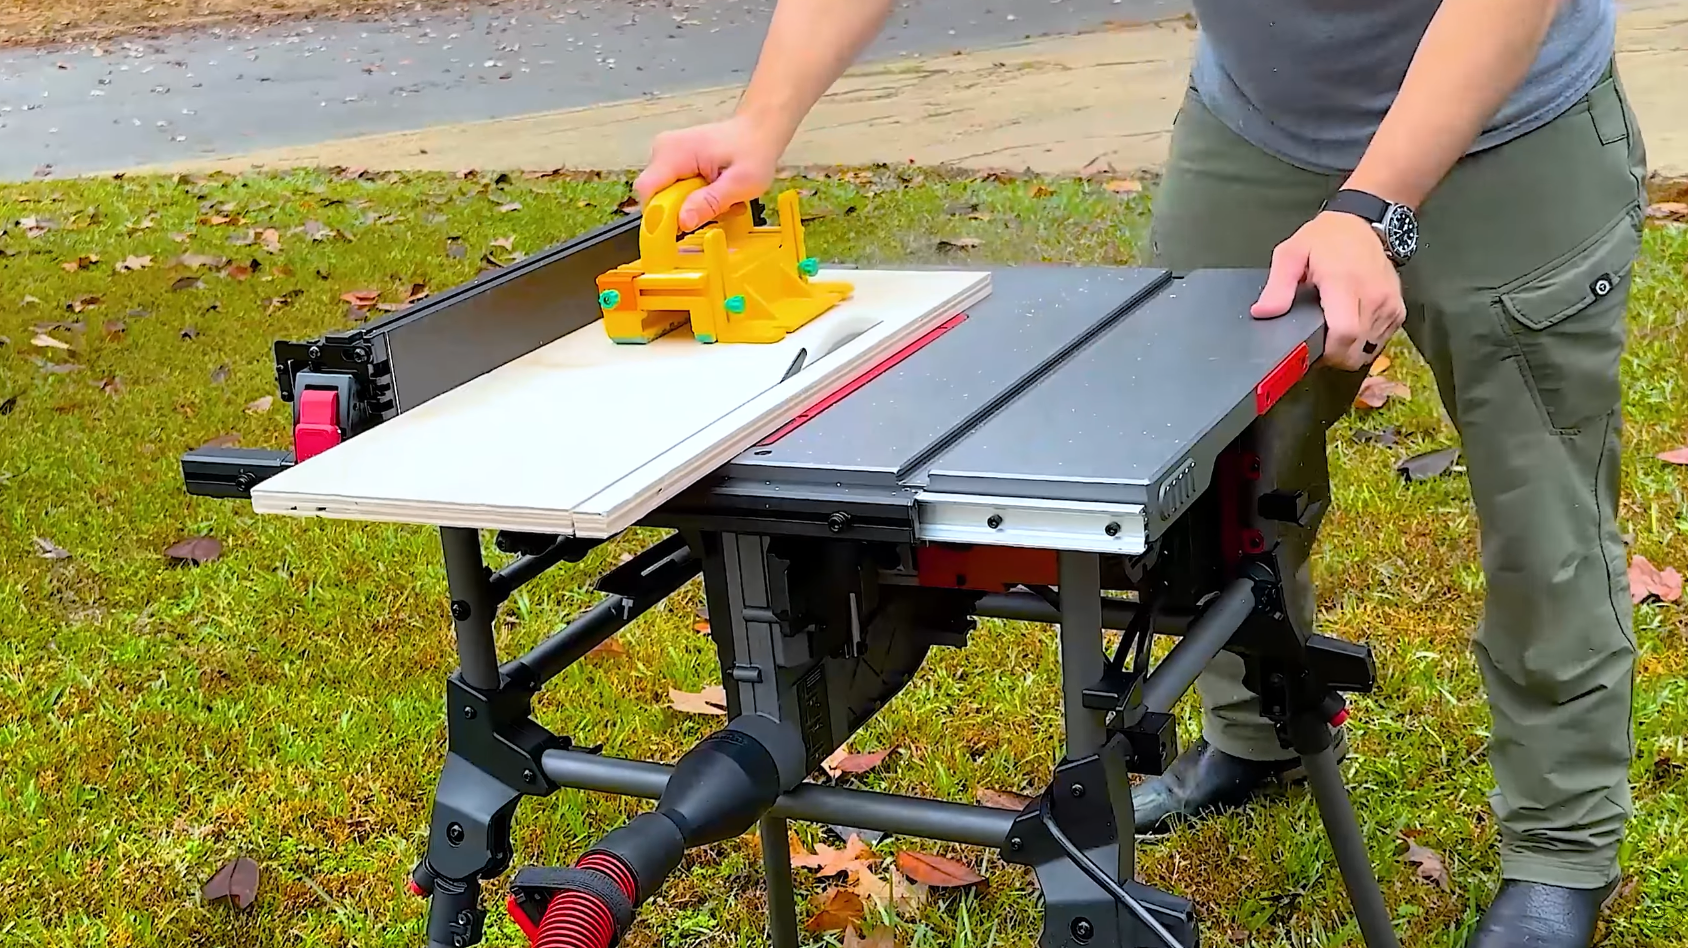
Tool Talk: Know Your Saws and Blades
Riving Knife & Kickback
The riving knife is that thin piece of metal behind your saw blade — it prevents the wood from pinching the blade and kicking back.
Kickback happens when wood binds and shoots back toward you. Always stand out of the danger zone and use push sticks and featherboards.
👉 Safety tools I highly recommend:
Zero Clearance Insert
This small upgrade makes a huge difference. It’s a tight-fitting throat plate around your blade that reduces tear-out and prevents small pieces from falling into the saw.
You can even use Zero Clearance Tape for your miter saw.
Feed Rate
Let the tool do the work. Pushing wood too fast through a saw or router not only causes burn marks — it’s also dangerous. Slow, steady pressure gives you a cleaner cut and keeps your fingers safe.
Joinery Basics (How Wood Comes Together)
Pocket Hole Joinery
Probably the most beginner-friendly way to join boards. You drill angled holes and drive special screws to connect your pieces. Strong, simple, and perfect for furniture builds.
👉 Try the Kreg Pocket Hole Jig or Massca Jig.
If you want to take it further, check out the Festool Domino for professional-level joints.
Dado and Rabbet Cuts
A dado is a groove across the grain — great for shelves.
A rabbet is a notch on the edge of a board — common in cabinet backs or picture frames.
Use a Dado Blade Set or a router with a straight bit to cut these.
Wood Movement and Acclimation
Wood moves. That’s just a fact of life. Before building, let your lumber sit in your shop for a few days to acclimate to your temperature and humidity. This helps prevent warping or cracking down the road.
Essential Hand Tools for Beginners
Start simple and build up your collection as you go:
For a full list, check out the Woodworking Tool Buyer’s Guide.
Join the 731 Woodworks Community
If you’re a beginner or hobbyist trying to take woodworking to the next level — or even start selling your projects — come join my free 7-day trial of the Sawdust Startups Coaching Community on Skool.
You’ll get access to live coaching calls, project feedback, and a community of woodworkers just like you.
👉 Join Sawdust Startups on Skool
And don’t forget — you can save money every single morning by signing up for my Daily Tool Deals Newsletter at 731woodworks.com/tooldeals.
Final Thoughts
Learning woodworking terminology might feel like learning a new language — but once you get it, everything else starts to click. From understanding how your saw blade works to reading a set of plans with confidence, you’re now well on your way to becoming a skilled and safe woodworker.
Stay safe, keep those fingers attached, and as always — go make some sawdust!