
I Bought This $150 Miter Saw Accessory So You Didn't Have To...
Reekon M1 Review
Is the Reekon M1 a gimmick, or is it the real deal? If you’re like me, you’ve seen this all over the internet in a bunch of different Instagram posts. When I first saw it, I thought it was super cool, but I’m also a little skeptical. After seeing it so many times, I went on Amazon and ordered it with my own money, so I could try it out. I bought this, so you didn’t have to. The Reekon M1 is a measuring caliper that clamps onto almost any miter saw. It fit on my DeWALT, it fit on my Festool, and it will fit on a variety of different brands of miter saws.
The links to the tools in this review can be found at the bottom of this post. Affiliate links are used on this website to help support the website. For more information, read our affiliate disclaimer.
Buy the Reekon M1 here: https://amzn.to/3suHxT3
Packaging:
It comes in a nice, hard foam case that’s going to protect it during transport. You can also use the case to store it. One thing that did surprise me was that at a price point of $149.00, they couldn’t include some AA batteries? C’mon man. I just happened to have some Eneloop rechargeable batteries, which are my favorite type of batteries. I grabbed a couple of those to get started.

Look mom! No batteries! 🤦🏻♂️
How to Attach the M1 to a Miter Saw:
To attach this thing to a miter saw is super simple. There’s no assembly required, other than providing your own batteries. There’s a clamp on the back of the device that you just squeeze down, and it holds the device on your miter saw fence. From what I can tell it will fit on most any miter saw. Even with the ridges built into the fence for support, you can easily position this around those. To release it, there’s a push button on the bottom of the clamp, and it comes right off.


Once it’s in position, you push and hold the power button to turn it on. The arm is spring loaded to allow for different thicknesses of wood.
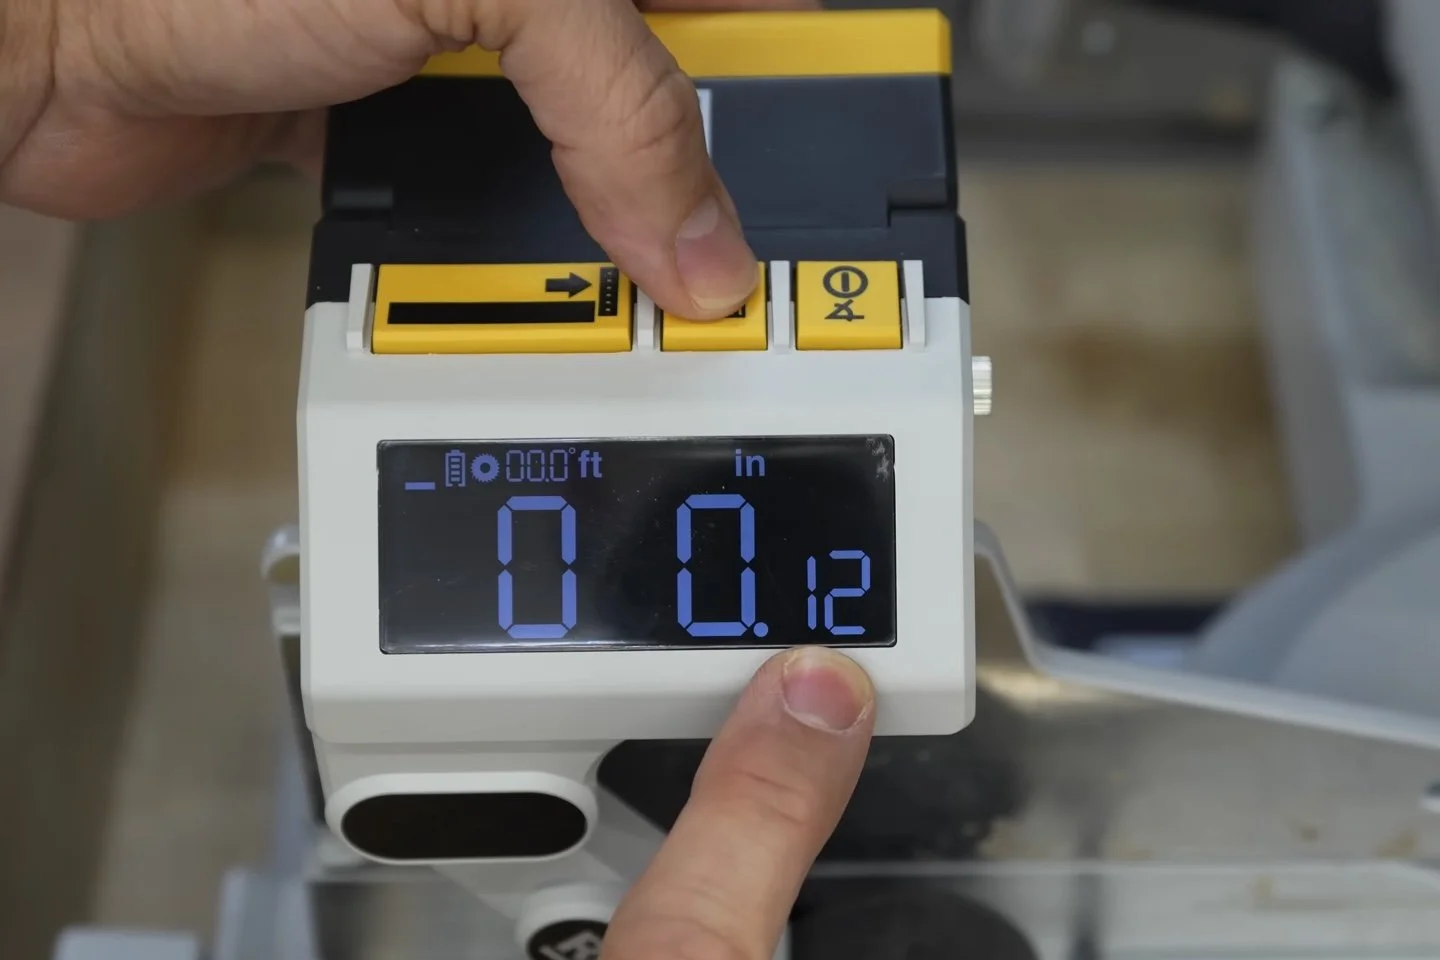
Reekon M1 Digital Display Modes:
The digital readout can display in inches, or if you’re not in America, there’s a button that will change the display readout. It cycles through fractions of inches, decimal inches, decimal centimeters, millimeters, and also meters. Anytime you need to zero out the display, you can press the third button on top to zero it out. The blade kerf is also accounted for in the display.

Calibrating the Reekon M1:
To calibrate it, you hold down the Zero Out button at the same time as the Display Readout button, then press and release the Power button. Full disclosure, I spent 20 minutes trying to calibrate this thing, and I got frustrated. The only instructions that come with it are on a little pamphlet with nothing on it other than a QR code to go to the instructions.


I scrolled down through the calibration instructions, and the first thing I came to was a video. I watched the video, and I still couldn’t get this thing to calibrate. I even messaged Reekon on Instagram, and at the time of this review I haven’t heard back from them yet. Under the video, it says to turn the power off and then do the calibration steps. Once I did that, I was able to calibrate it with no problems. Moral of the story, scroll a little farther and read all of the directions.


Once you’re in calibration mode, get you a pretty long board - at least 6’ or longer if you can - and cut one end of it to square it up. You also want to make sure your board is really nice and straight. Once you make your cut, hit that Zero Out button. The display will call for you to go out 6’, so you’ll measure 6’ down your board with your tape measure and make a mark. You’ll then feed the board under the wheel, making sure to keep the board in contact with the wheel and the fence the whole time until the mark gets to the exact left side of your blade. Once you’ve got the board in place, you hit the Zero Out button again, and your calibration is done.

Setting Blade Kerf on the Reekon M1
Once your calibration is done but before you start cutting, you need to set your blade kerf. Mine is 2.5mm. I know…millimeters. It’s a Festool blade. You can check your blade width, and most blades are going to be 1/8”, but it just depends on what blade you have. The way you set that is you push and hold the center blade button until the word “blade” appears on the readout screen. You then roll the wheel to the correct measurement and hit the Enter button.

Using the Reekon M1
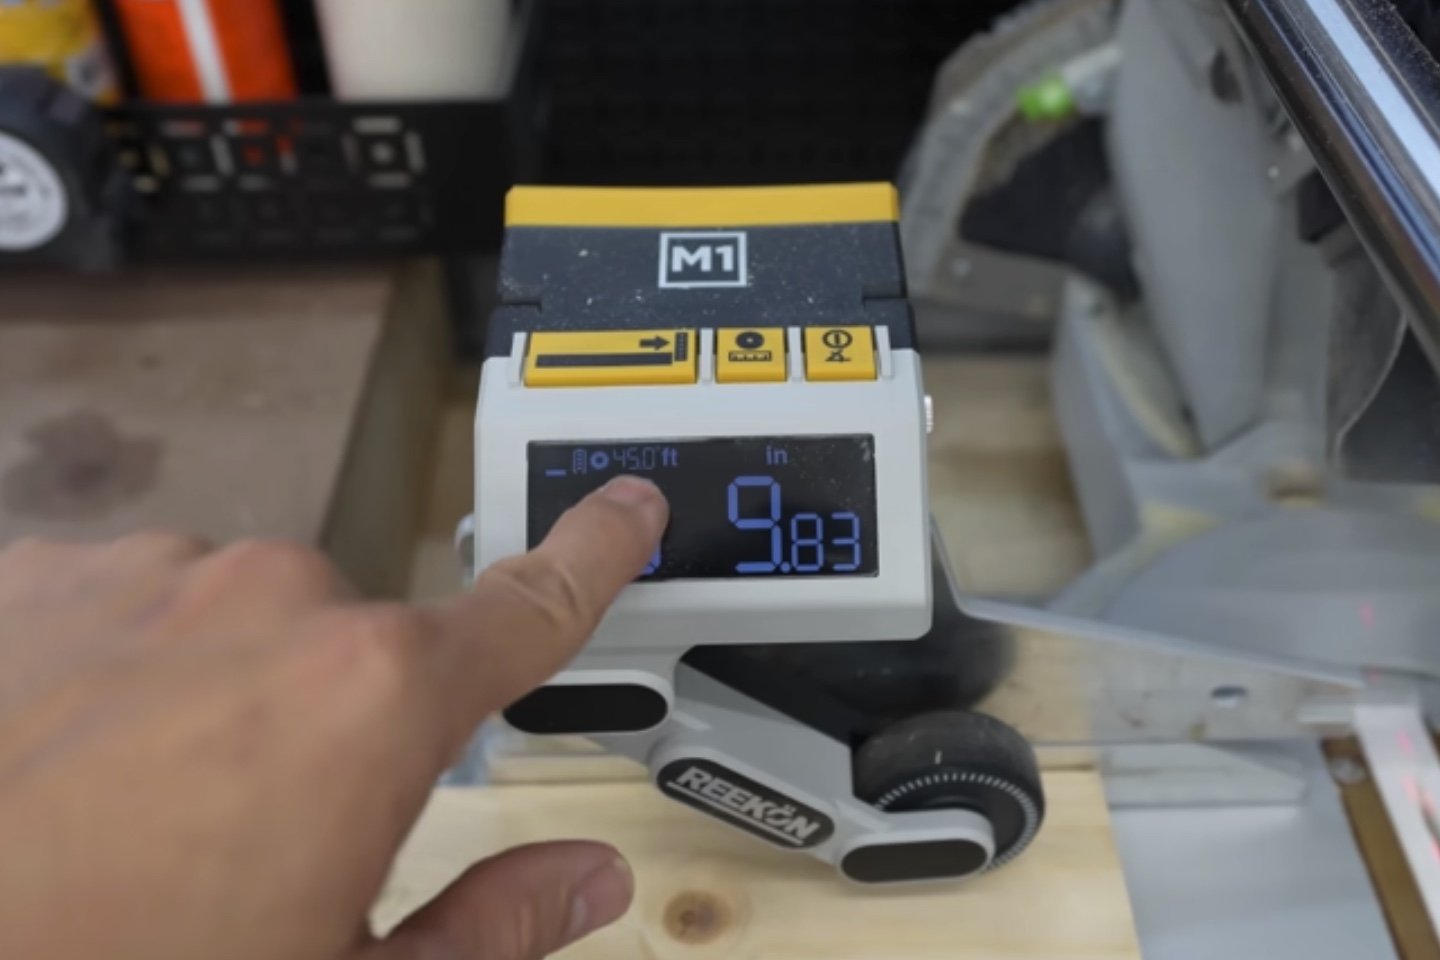
From there you can start cutting. To test for accuracy, I made four 5” cuts to see how they stack up. I used decimals because with the fractions - 1/16” or 1/8” - would throw too much error in the cut. So, I went with 5.00”. I made four cuts, and one of them slipped to 5.01” right as I was cutting. You can tell that one is slightly higher than the other three, which shows how accurate this thing is. Pretty neat.

One thing I have noticed is that you have to hold it just right if you’re looking for that precise measurement. For most projects, that .01” probably won’t matter much. However, if you’re holding your workpiece nice and steady, it’s going to make a cut exactly where it says it’s going to cut. I like that. I even tried a longer piece at 46”, and after the cut, it was exactly 46”.

One other feature of this unit is that if you don’t want to take it off your miter saw and then recalibrate it, the measuring arm snaps up to the unit and out of the way. That will safely give you 3 13/16” of clearance, which is plenty if you’re cutting a 4x4 or a 3.5” block.
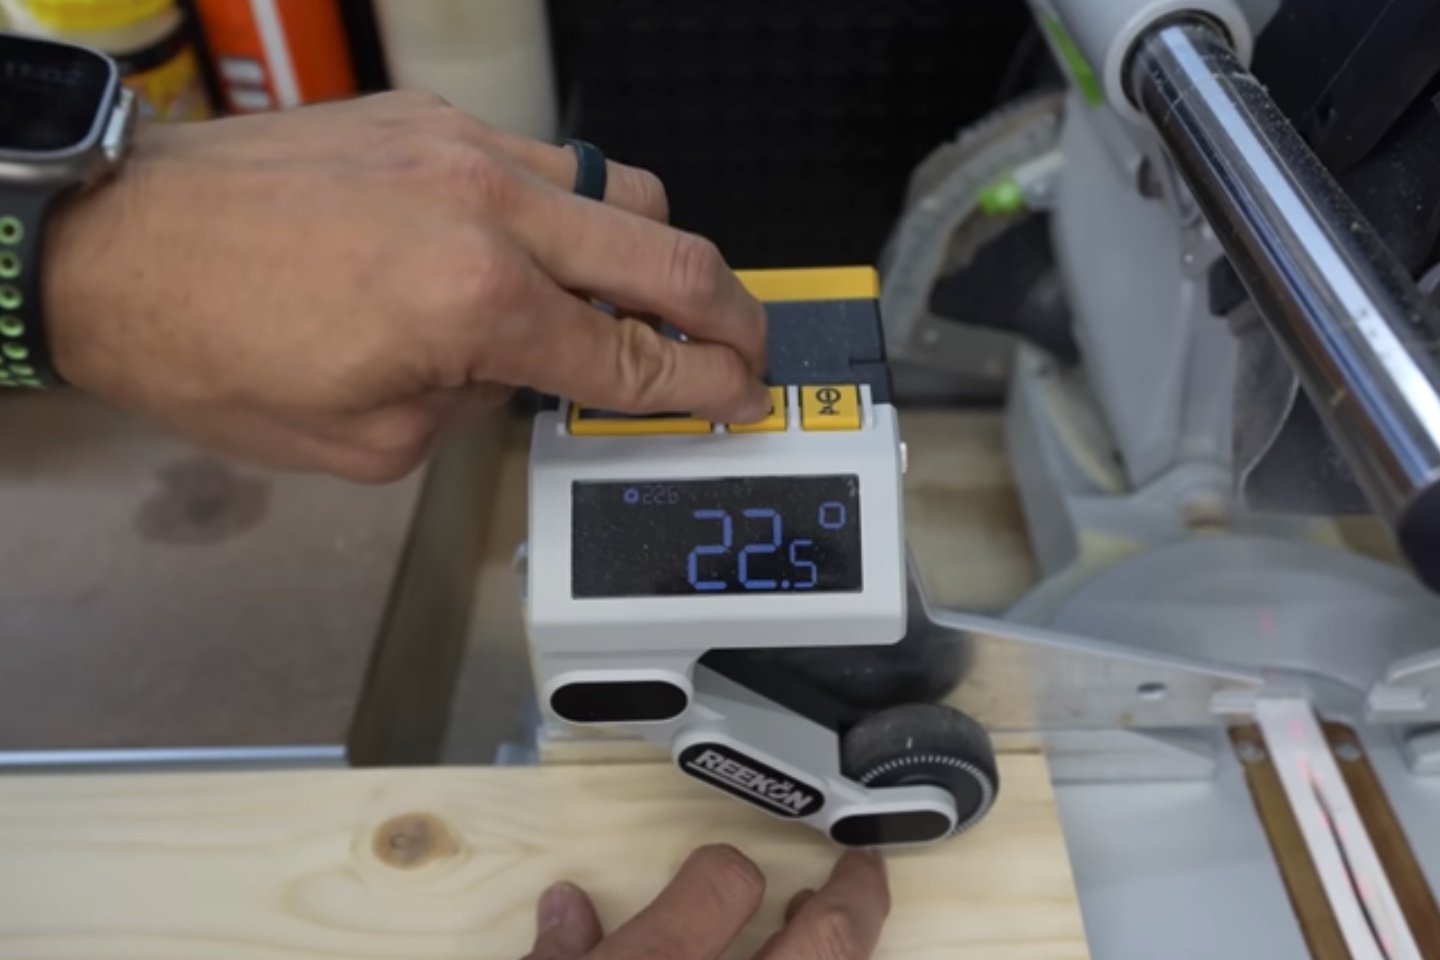
Reekon M1 Cutting Miters:
You can also set this in miter mode. You tap the power butting until it starts flashing, then press the saw blade button to change the angle. It will give you the option for 5-degrees, 10, 15, 22.5, 31.6, 35.3, 40, 45, 50, 55, and 60-degrees before cycling back around. To set the angle, you just press the left Enter button. The readout screen will then show that you’re going to be cutting 45-degree cuts. On my Festool, I can turn the blade to the right for a 45-degree miter, and the Reekon just clears the saw housing. I couldn’t go much further than 45 with this in place.
Cutting miters is done the same as straight cuts. You cut a clean edge on the end, then hit the button to zero it out. So, if I need a piece that is 5” from inside to inside, I move the board down until the screen reads 5”. I then swivel my saw to the opposite side and cut. If I need a cut that’s say, 8” outside to outside, I’ll make my first miter cut so that the point is against the fence. I then move the board until the readout says 8” and swivel my saw in the opposite direction to make the cut.

I made some 4” cuts by hand and some using the Reekon to compare the two. The two cuts I made by hand are just a hair over 4”. The two cuts made using the Reekon are exactly 4”. So as far as precision goes, I’ve got it exactly with the Reekon, and roughly 1/32” over on the cuts by hand.
Reekon M1 Accuracy
For short pieces, I love this little thing. It works really well, and it’s really accurate. For long repetitive pieces where I’m going to be cutting the same piece over and over, I’m going to use my stop block system which can handle up to about 6’. But for small pieces, this thing is as handy as a shirt pocket.

I tested this with a bunch of different pieces at different sizes and different angles to see just exactly how well this thing was going to work. Here are the pros and cons, in my opinion.
Pros - If you’re cutting multiple parts of different sizes, I think this will speed up your process a lot because you don’t have to measure each piece. Even with cutting the same length pieces over and over, this will be helpful to get that precision. It’s fast and easy to set up, and it works on both miters and 90-degree cuts.

One feature that’s both a pro and a con is the case. It’s a nice foam case, and the lid is attached, so you’re not going to lose it. I do like that they gave us this. However, a hard case like a sustainer-style, hard plastic case would have been better. We’re in the territory of a top-end tool, and I think a more permanent case would have been nicer. Bu,t I like that they give you the foam, so it’s kind of a toss-up.
Cons - If there’s a knot or any other imperfection in the wood, it will cause an inaccuracy because the wheel is traveling further over the same distance. Another one is that if anything sticks to that wheel, which is a little grippy, then you’re going to get an inaccuracy. So, the key to accuracy is using clean, straight boards, and keeping the wheel clean. The third con in my opinion is the price. At $149 this is not for everyone, and I don’t recommend it for everyone.


Who Should Buy the Reekon M1?
If you’re trying to make a bunch of precision cuts and you don’t have a stop-block system, then this may work well for you. This would be especially handy if your miter saw is on a stand that rolls around or is portable, or even if you’re going from jobsite to jobsite. In my shop, my stop-block system works just fine. Other than for this review, I wouldn’t need to spend $149 on it.

I also don’t think that the weekend woodworker needs this. Is this a luxury item and nice to have? Absolutely. This is a really nice piece of equipment, don’t get me wrong. If it’s in your budget, and this is something you’d like on your miter saw, then you’ll be happy with this because it works so well. I’ve been impressed with it actually. It’s just less of a “need” and more of a “want”.
Another con, minor as it is, is that they didn’t give you any batteries. Two AA batteries wouldn’t cost them much at all, especially when they’re buying in bulk. I had to go get my own, which is fine, but at $150 throw us a bone with two AA batteries. I mean, c’mon.


The tool is well made, and it’s easy to use. I like how easy it is to take on and off the miter saw so that’s it’s not always there and always in the way. Overall, I think they’ve done a really good job with this. I think the price is a bit high, but I’m also not privy to the research and development costs that went into making this. I can tell it’s well made, and they didn’t cheap out on it in any way.
So, is it a gimmick or the real deal? I think it’s the real deal if it’s in your budget, and it’s something you want on your miter stand.
You can watch the full video review of the Reekon M1 here - https://youtu.be/yyRxY-K3QpE?si=GX-O_wyVZzxNIjoj
Greatest Free Gift I've Ever Received: http://story4.us/731Woodworks