
DIY Modern Outdoor Chair
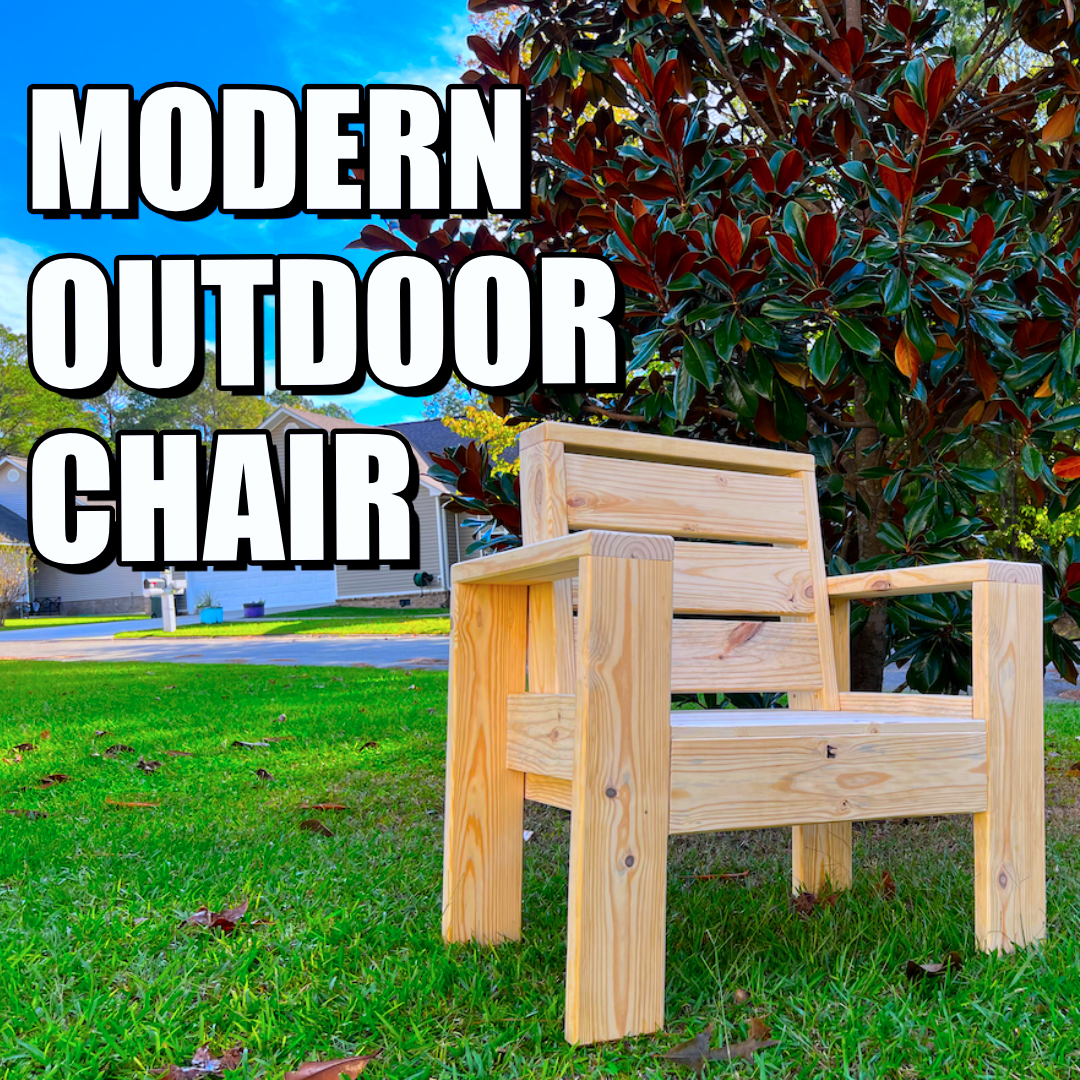
In this post and video I will show you how to make a modern outdoor chair. (build video linked at the bottom of the post). This is an easy beginner woodworking project. I used pocket hole joinery to keep this project approachable. I also used common yellow pine that you can get at your local lumber store or big box stores like Home Depot or Lowes. The total project time takes approximately four hours for most people. The cost of the project (depending on wood prices) will be well below $100. You should be able to sell these chairs for $200 to $250 each if you chose to sell them. At least that is what I would price them at and see how the market responds. Let’s get to work and I’ll show you how it all comes together. Easy to follow build plans are available, linked below. Amazon and other affiliate links are used in this blog post to help support this website.
BUILD PLANS: https://www.731woodworks.com/store/outdoorchair
SAVE 20% with this OUTDOOR PROJECTS BUNDLE: https://www.731woodworks.com/store/outdoor-furniturebundle
Material List:
5 = 10’ 2x6 pine (or whatever wood you choose)
1 = 10’ 1x6 spruce (or whichever you choose)
Tools and Supplies I Used:
Massca M2 Pocket Hole Jig: https://masscaproducts.com/collections/frontpage/products/massca-m2-pro?aff=3
Outdoor Pocket Hole Screws: https://amzn.to/30j4yLi
Pocket Hole Plugs: https://masscaproducts.com/collections/pocket-hole-screws-plugs/products/pocket-hole-wood-plugs-birch?aff=3
F Style Clamps: https://lddy.no/12m3r
45 Degree Chamfer Bit: https://lddy.no/12m3s
Cabot Australian Wood Oil: https://amzn.to/3FdUtOe
HomeRight Paint Sprayer: https://amzn.to/3FaaVz9
Dust Mask: https://tidd.ly/3qCEGob
Big Hoss: https://amzn.to/3wJEvIY
Right Angle Attachment: https://amzn.to/3Dc1Zsv
Miter Saw Blade I Recommend: https://lddy.no/12m4b
Titebond 3: https://amzn.to/3c8XoLO
1 1/4" Outdoor Screws (for seat slats: https://amzn.to/3DdwI8z
2 1/4" Outdoor Screws: https://amzn.to/3wWstMt
Step 1:

I used the plans and cut all my parts out first. This saved me a lot of time. Be sure to label the parts, I used sticky notes but you could write on them as well and sand it off later. I used common yellow pine for my chair. I have used pine for many outdoor projects and they have lasted for years. You just have to paint them or finish them properly, which we will get into later.
Step 2

Now it is time to drill pocket holes for the joinery. You can use other joinery methods of course, but pocket hole projects are very approachable and make building projects fast and easy! I use the Massca M2 pocket hole jig. I did a review on this jig if you want to see it in more detail.
Step 3

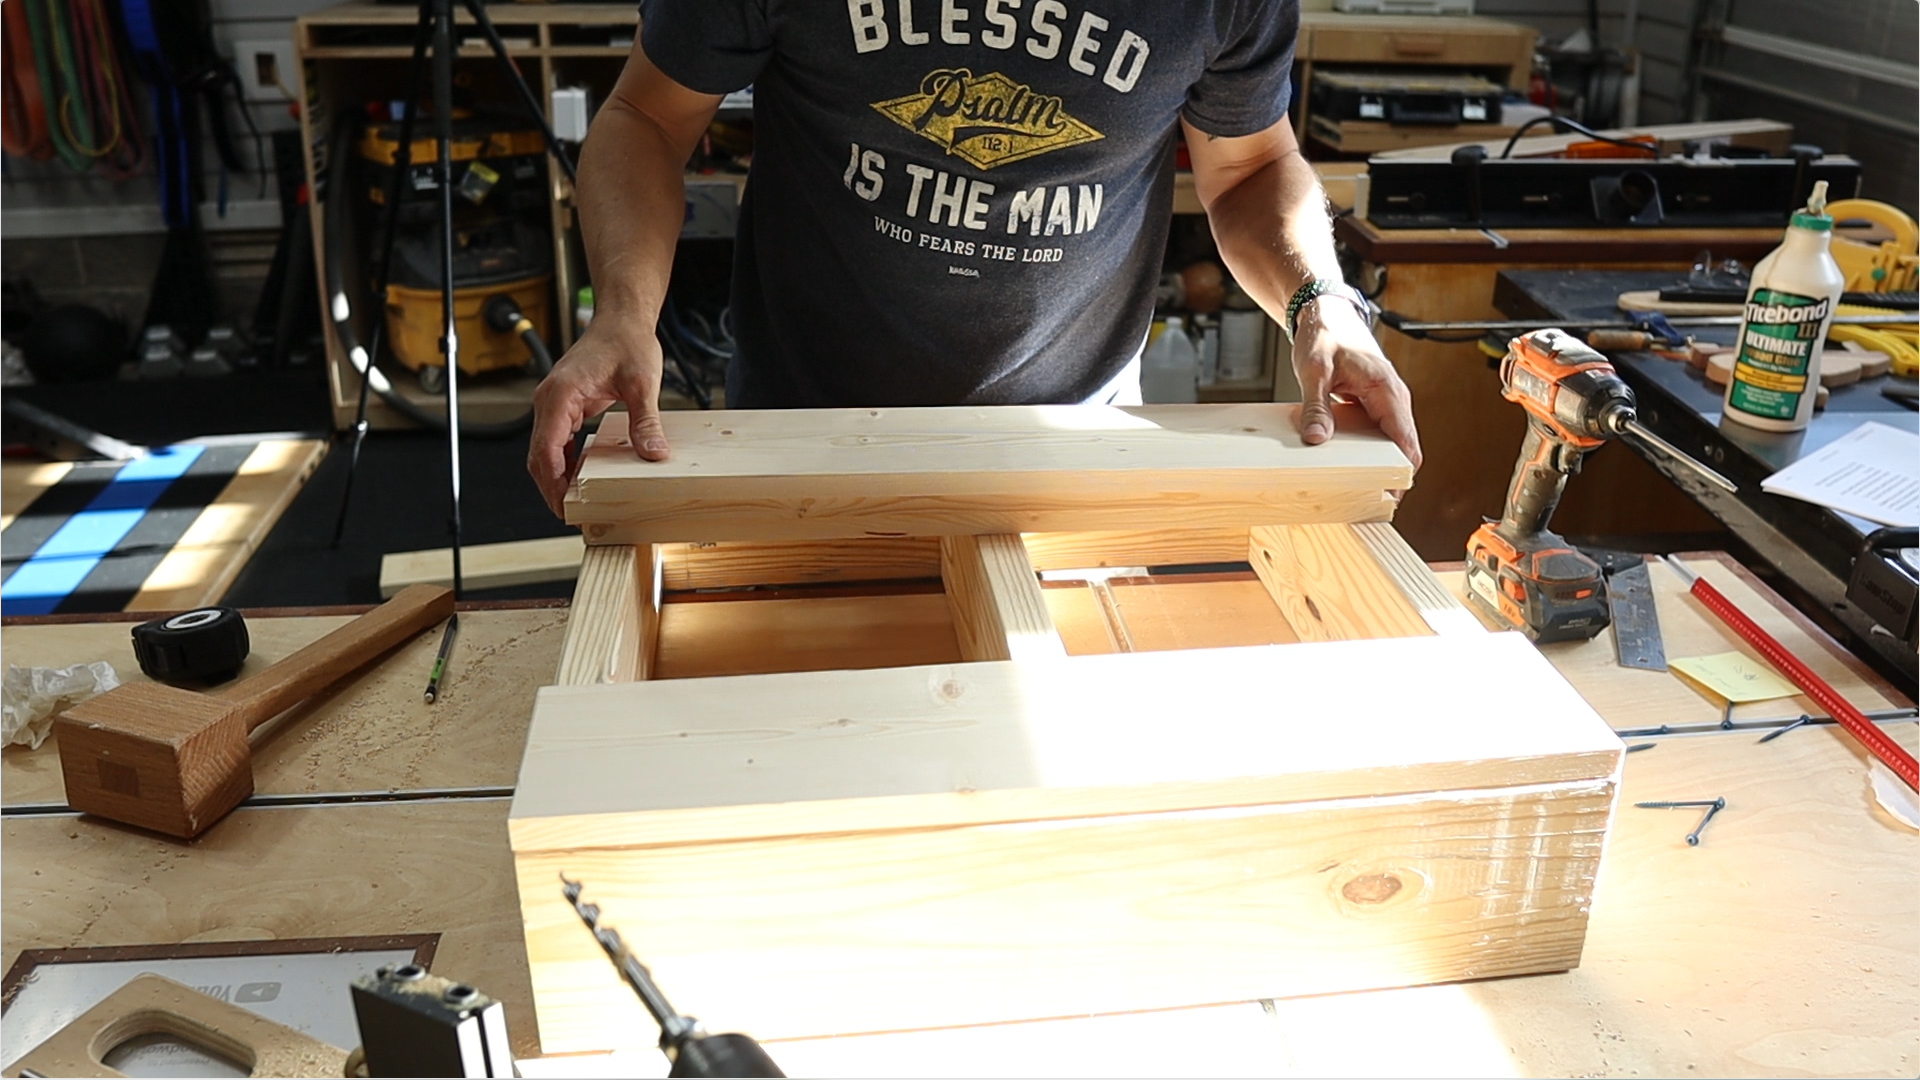
After the pocket holes are drilled, it is time to start the assembly. The first part to assemble is the seat frame. This is a square box where you will attach the seat slats. I used Titebond 3 wood glue on every joint to help strengthen and reduce squeaks as the project ages and endures the weather. If you use clamps to hold your pieces in place this will prevent the wood from moving when driving the screws.

When building outdoor projects, it is best to use outdoor screws. These are coated in blue and are weather and rust resistant versus indoor screws which are silver. I linked to the blue outdoor screws above in the supply list.
Step 4

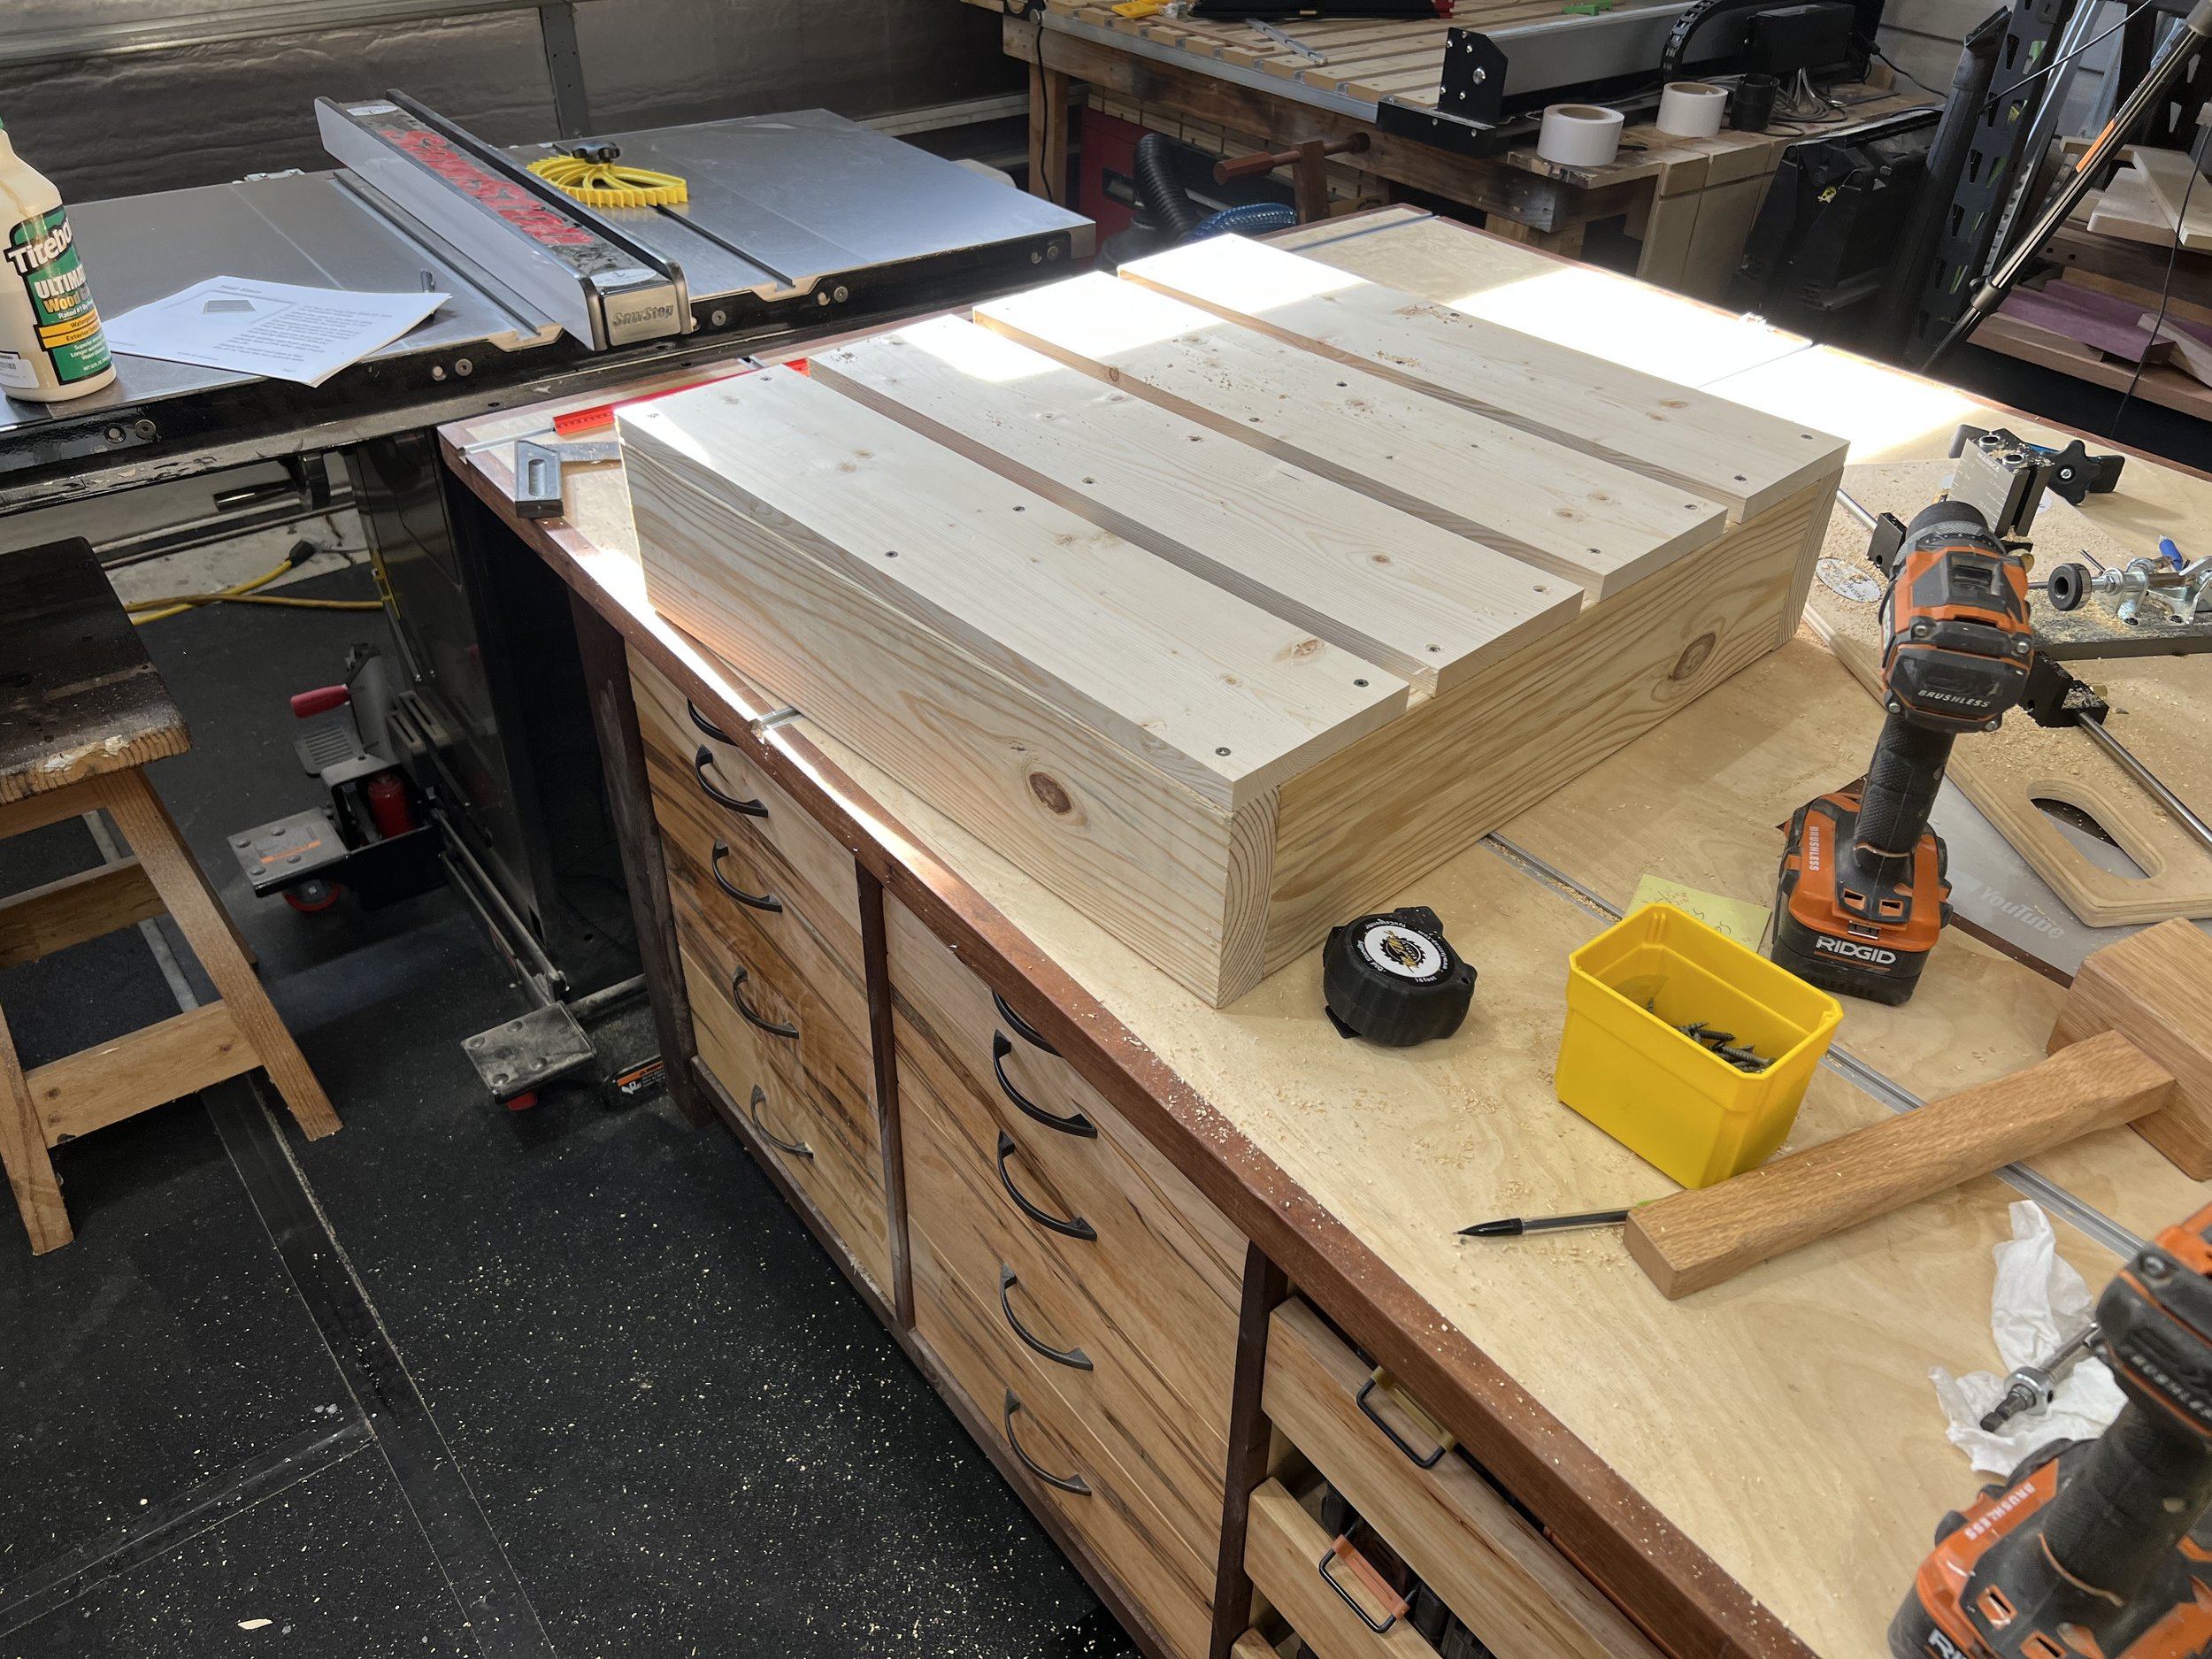
Attach your seat slats to your seat frame using outdoor screws. These can be various colors, just look for the “outdoor” on the package. Make sure to pre drill and counter sink these screws on the seat slats. I spaced these four pieces of 1x6 equally across the seat frame (see picture below).
Step 5
Once you complete the seat frame you are ready to move on to the leg assemblies.

You’ll use four pieces for each leg assembly. You will have two legs, the top (armrest) and the leg cross brace. On the cross brace note that the pocket holes are skewed to one side, which will be oriented toward the bottom. Use a clamp here to help hold it in position while you attach it with screws.

Step 6

Step 7
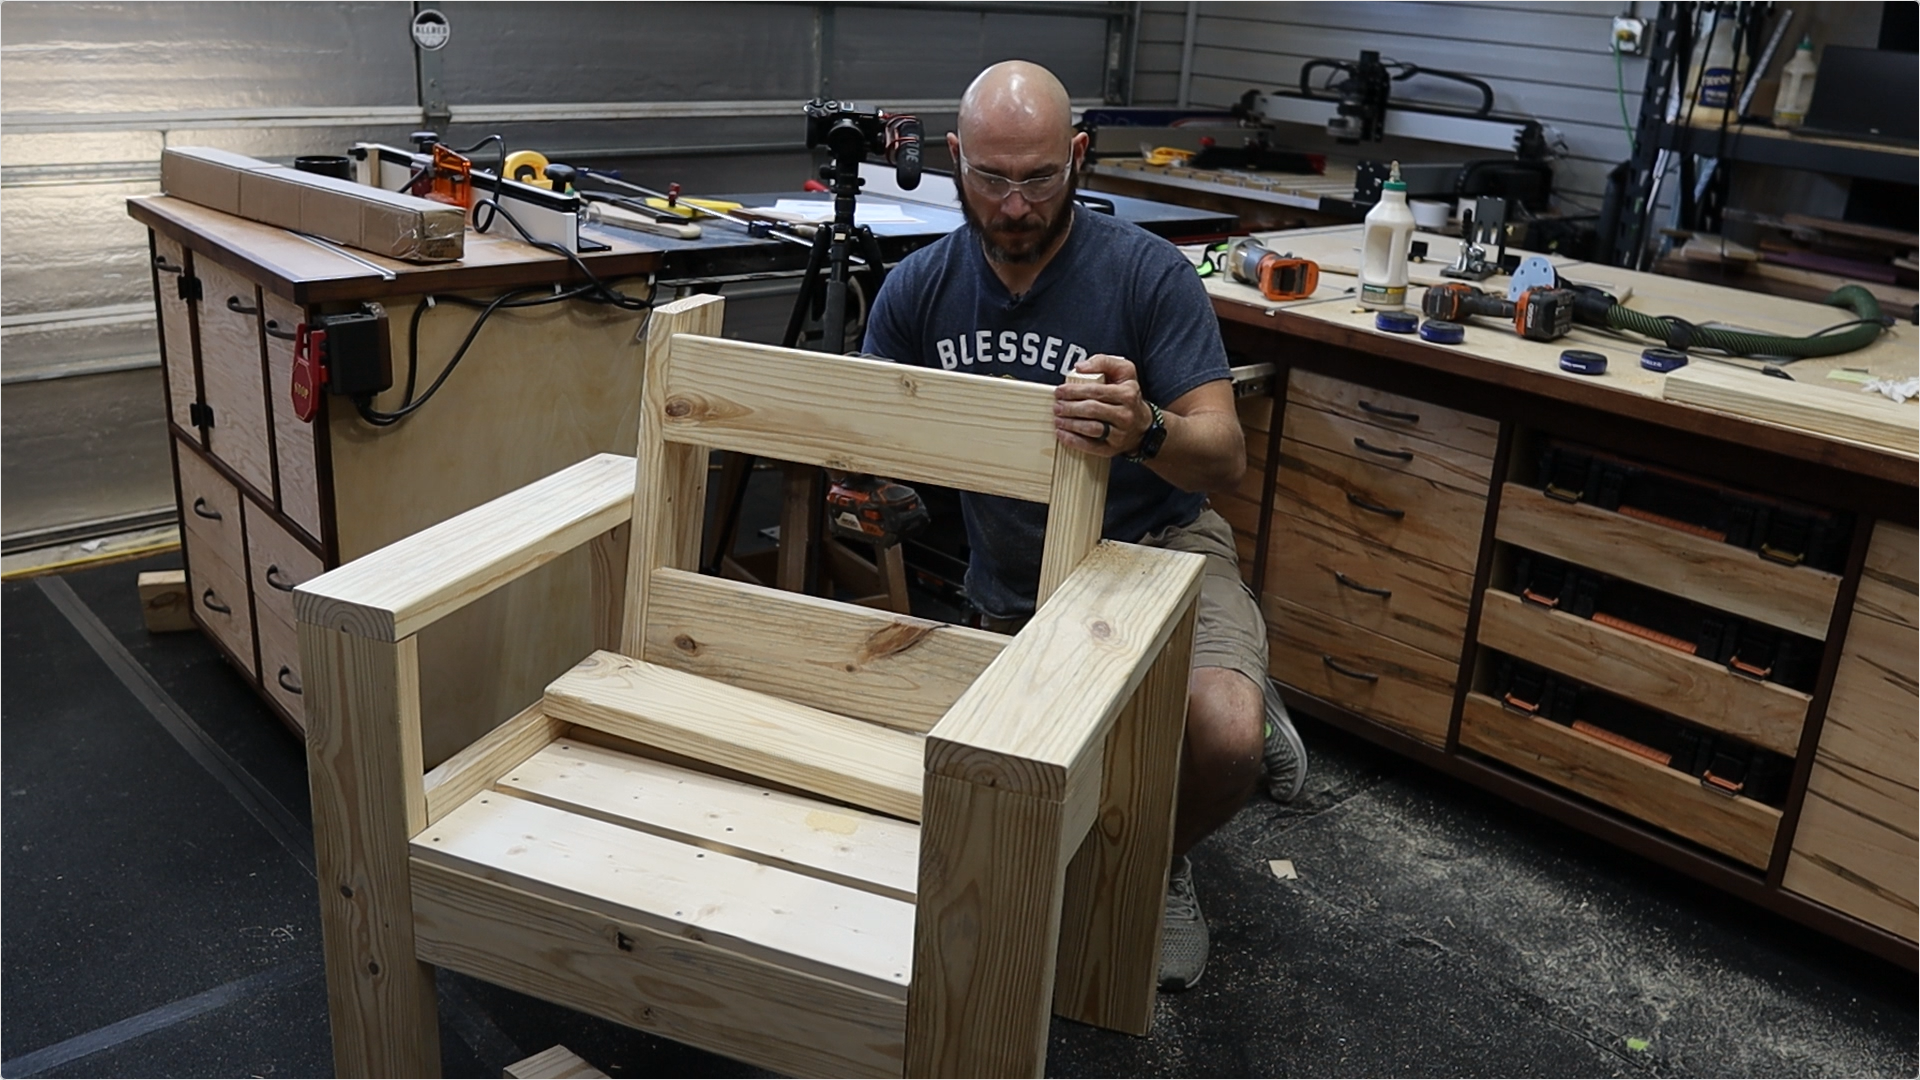
After the two leg assemblies are made, attach them to the seat frame using at least four outdoor screws and wood glue. It is a good idea to pre-drill these to prevent the wood from splitting.
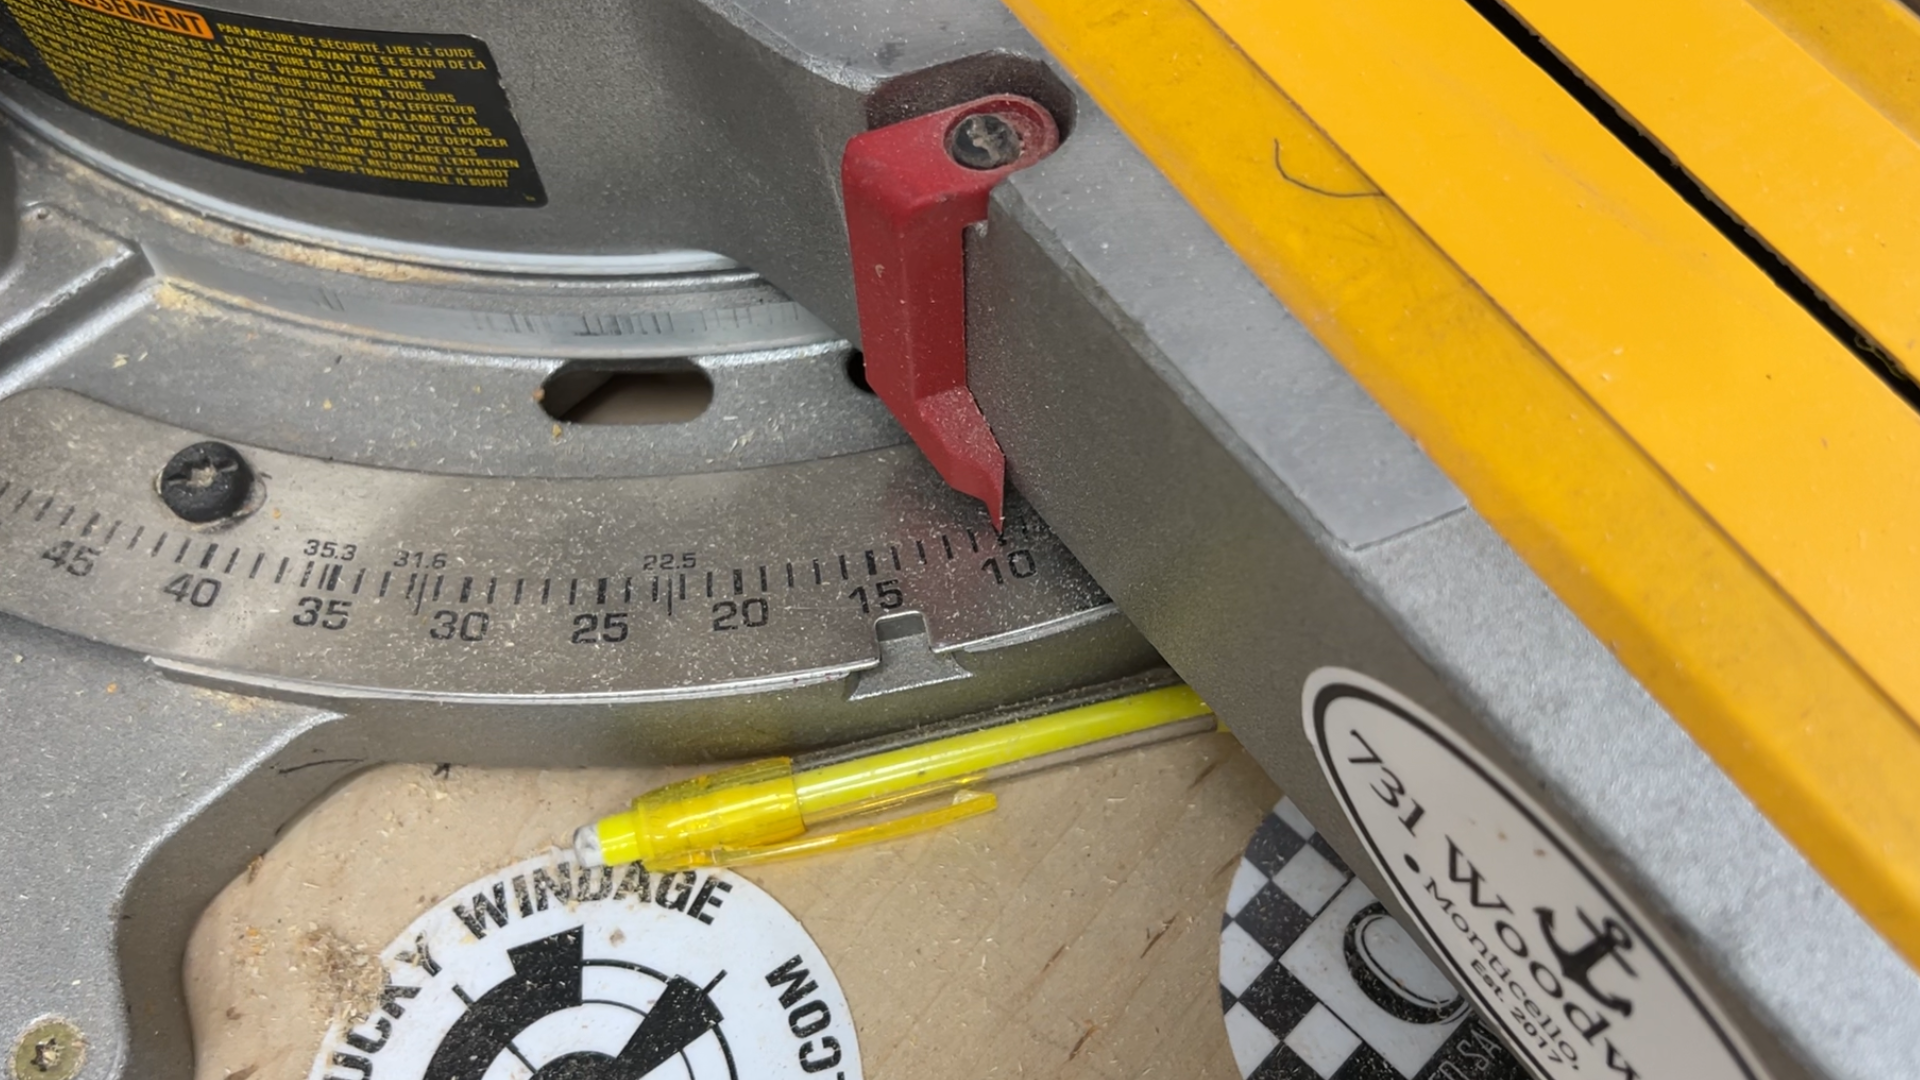
Next you will cut the seat back supports. You will need two of them with parallel 10 degree angles on each end. These will screw into the arm rests. You will need to drill two pocket holes in the tops of each uprights. Be sure that the pocket holes are on the inside of the uprights. This helps with the aesthetics of the chair.
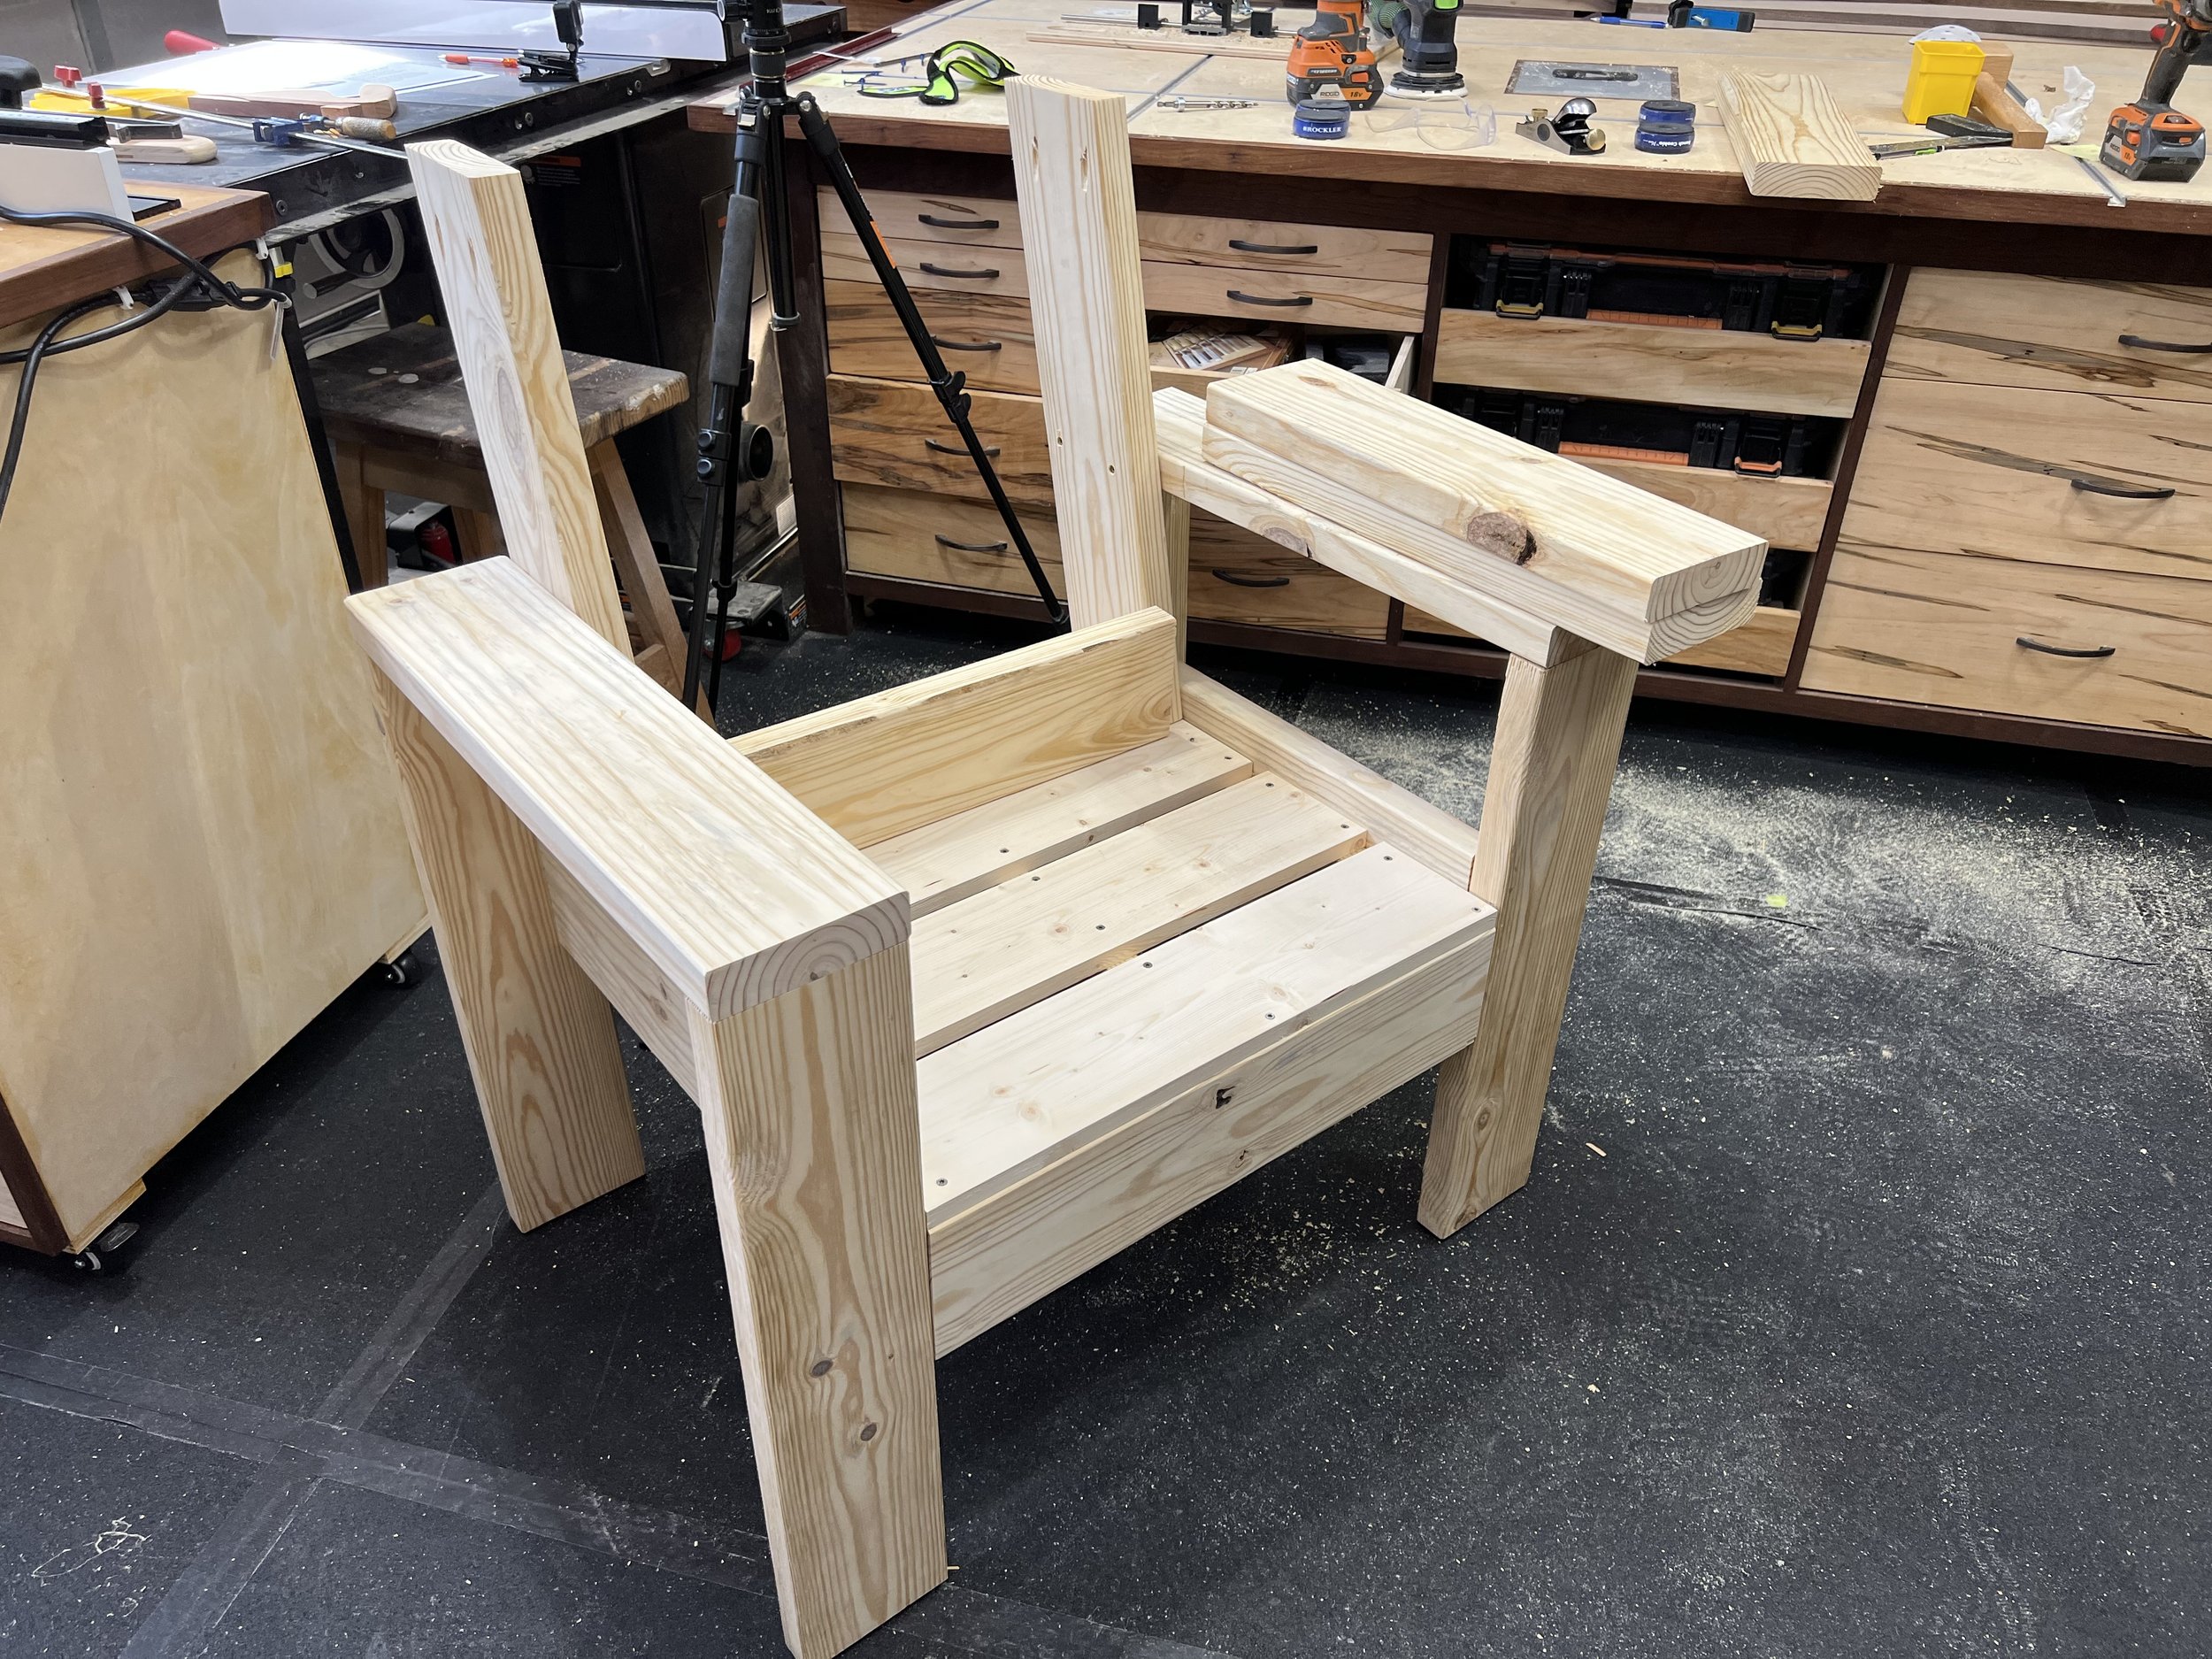
When attaching the seat back uprights, alight the uprights to the back seat slat. This should give you a seat depth of approximately 19”.
Step 8
Equally spaced the three seat back supports and attach them with pocket screws to the uprights.
Step 9

Attach the top to the uprights using pocket screws.
Step 10

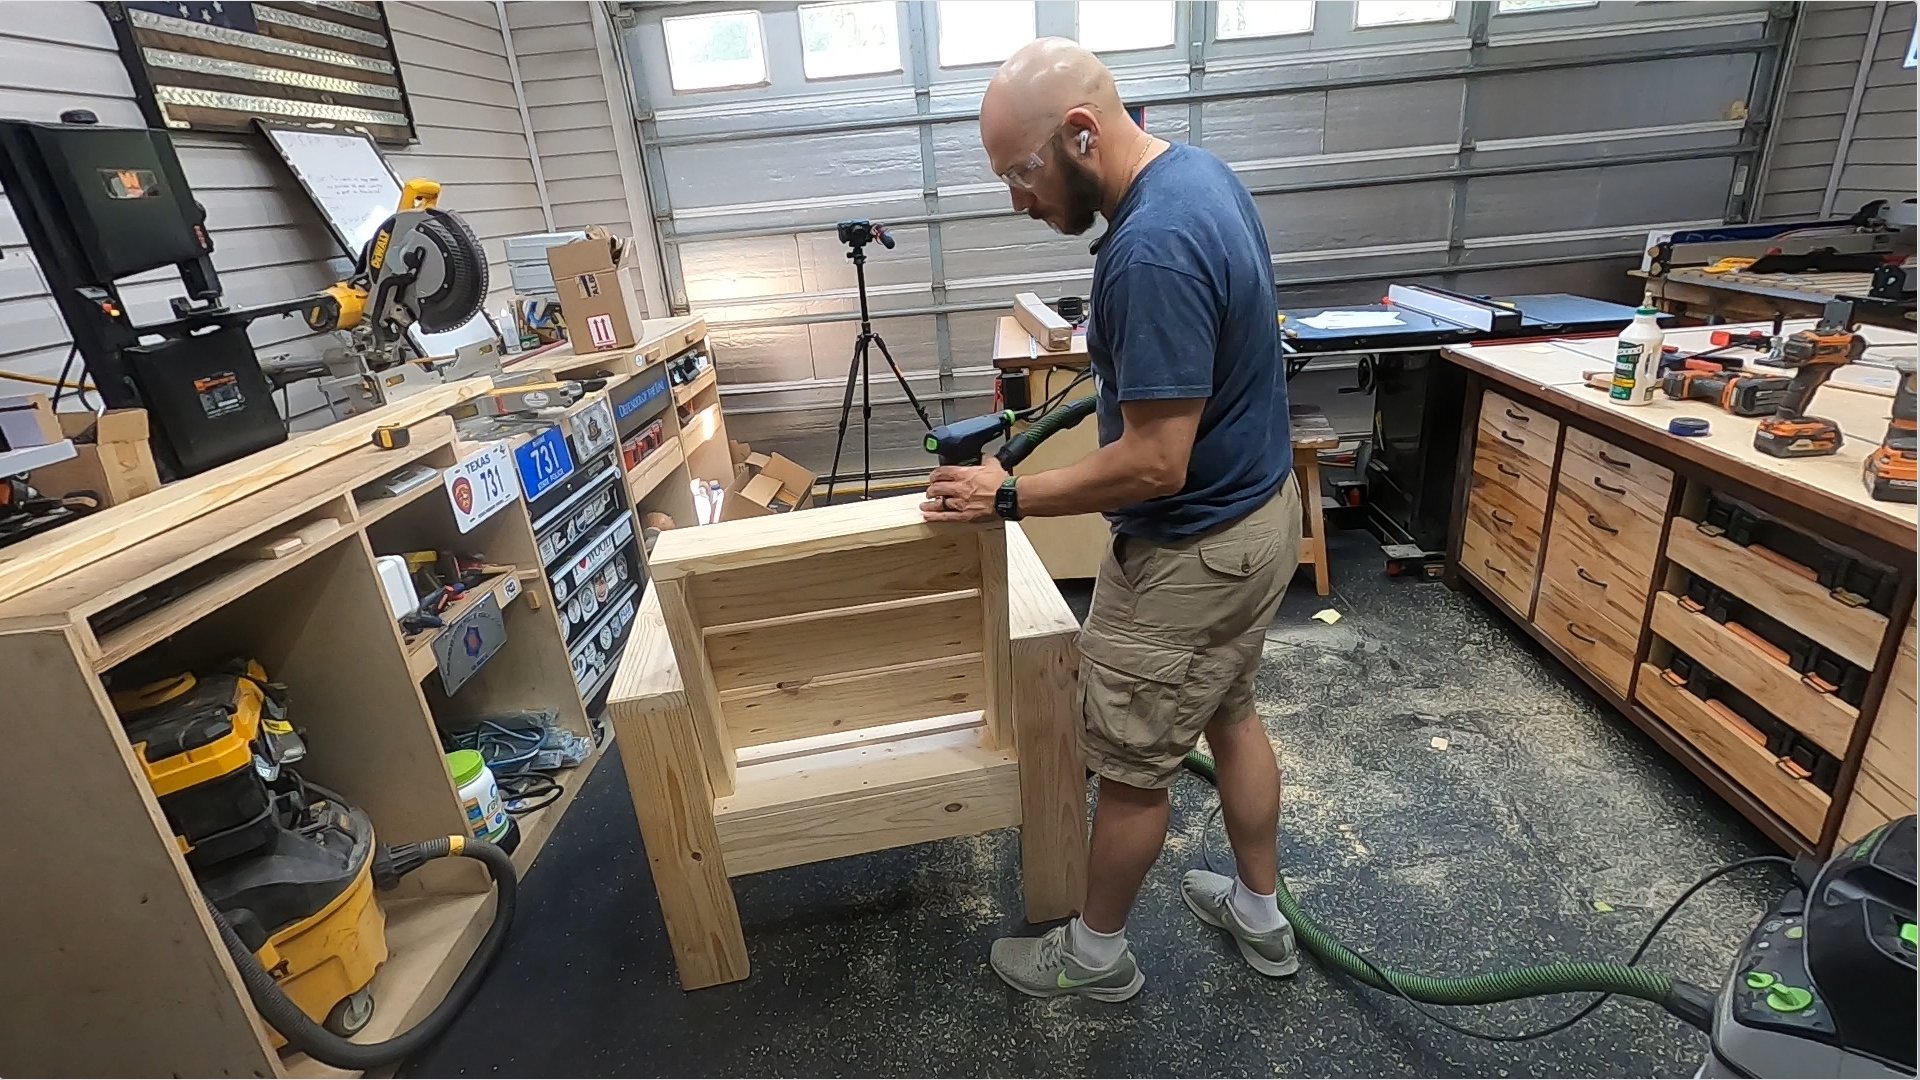
I used pre-made pocket hole plugs and wood glue to fill the pocket holes. If you don’t have the plugs, you can use a 3/8” dowel and cut them off flush. These plugs work very well in 2x material but I have found they don’t work well in 1x material. Sand them flush if they aren’t seated all the way in.
Step 11

I used my router with a 45 degree chamfer bit to give the edges of the chair detail. You can use a roundover bit or just a sander. This step is necessary to prevent the edges from being so sharp and splintering as it ages.
Step 12
I used my orbital sander and 120 grit sandpaper and sanded the chair. I sanded all exposed faces, including the back and underside.
Step 13

For the finish, I used Cabot Australian Timber Oil. I have used this on several projects now and really like how well it protects against water. I spray mine on but you can brush or even wipe it on with a rag. I recommend protective gloves if you wipe it on.

Step 14

The final step! Sit and relax and appreciate a job well done!
The overall size of this chair is approximately 35” wide, 25” deep and 39” tall. The actual seat dimensions are approximately 24” wide, 19” deep, 21.5” tall. At the time we finished this, we hadn’t ordered any cushions for it. We used the ones from our sectional to “stage” the photo. As you can see these are a bit too narrow at 20”. Mrs. 731 is in the process of shopping for the cushions she wants that will match the sectional cushions. The 24” width is a standard cushion size so finding cushions shouldn’t be an issue. However, I’ve sat in this chair several times without cushions and it is quite comfortable.
Build Video
If you build this project be sure to tag us on social media with your progress and finished project shots @731woodworks
Get out there and make some sawdust!