
Best Budget Benchtop Planer?
Craftsman Benchtop Planer Review
In the last couple of months, I’ve been on a mission to find the best tools for beginners and those on a budget. Previously I picked out a Skil table saw that is a very good saw for the price - https://youtu.be/qOANCOd1NCE. Do I recommend this planer for everyone?
Tools and supplies mentioned in this review:
Craftsman Planer - https://amzn.to/41gujpJ
DeWALT Planer - https://amzn.to/3MOK6Yg
Outlaw’s Board Butter - https://www.731woodworks.com/store/boardbutter
Affiliate links are used on this website to help support this website. For more information, read our affiliate disclaimer.
Most people starting out and adding to their tool collection are going to buy a miter saw, and then they’re going to buy a table saw. Right after that, most people start looking at a planer.

Front view of the Craftsman Planer
A planer can do a couple of things for you. It will make your boards the same thickness, so if you’re building tabletops or cutting boards, all your boards are going to be the exact same thickness. That’s going to cut down on a ton of sanding, and honestly, none of us like sanding. It can also take twists out of a board with a simple sled. More on that later.
Planers are one of the more expensive tools you’re going to be looking at. Even the Craftsman on sale was $299, but typically it runs about $399. I picked this model because of the price, and because of the quality in the reviews that I read on it.

Carry handle on top of the Craftsman planer.
Both infeed/outfeed tables fold up flat, making it more compact. It doesn’t weigh a whole lot, maybe 50-pounds. The on/off switch can be locked out with a lock, so if you have little ones and you leave it plugged in, they can’t activate it. You can plane up to about 6”, but I don’t know if you would ever need that much capacity in a planer. That is a lot of beefy wood. Typically, you’re not going to plane anything to less than about ¼”.
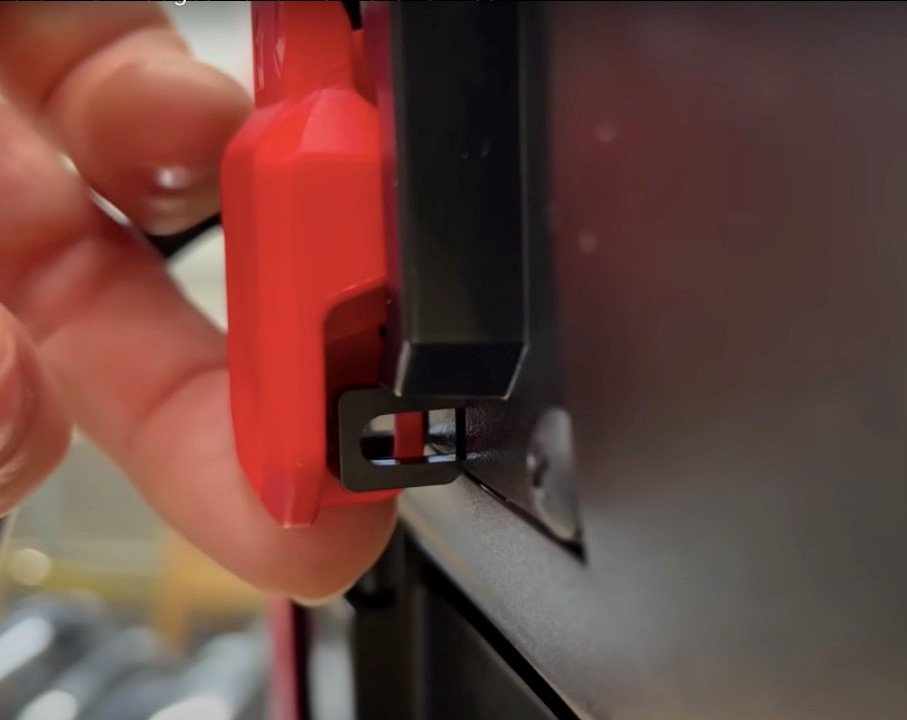
Craftsman planer has a lock out power switch.
The handle on top quickly raises and lowers the carriage, which operates on two screws, with posts on each corner, so it always remains perfectly flat while raising and lowering. That’s what you want, because a planer is going to create a parallel surface referencing to the bottom side.

Support posts on all four corners of the Craftsman planer.
There’s a scale on the side, but I never really trust these scales too much. I pretty much measure the board as it’s being planed so I can ensure that I get the thickness that I want. The capacity is 12½”, which is where most planers in this price point will be. Stepping up to the 13” DeWALT will cost you significantly more. For most people, 12½” is plenty.

There’s onboard tool storage in the lid, so you won’t lose the wrench you use to change the blades. The dust cover on the back easily comes off with two thumbscrews, should you get something jammed in there. Epoxies have a tendency to cause clogs, even on my DW735.
The blade cover also comes off with just two thumbscrews. Once you lift the panel up, you can access the blades. The wrench stored in the top is used to take off the piece holding the blade in place. These are two-sided blades, so you can just flip the blades around and reuse them once one side gets dull. The blades are very sharp, so be careful. This is a 2-blade planer, which is a tradeoff at this price point. Any of the planers with 3-blades, a spiral head, or the Shelix head will cost significantly more.
When I first get tools like this planer, I always put down a thin coat of paste wax or even our own Outlaw’s Board Butter on the bed and tables. That will help everything be slick and smooth so that your boards will just glide across it much easier. It doesn’t take much, just a thin coat.

I apply a wax to my planer bed to help the wood slide more freely.
The construction of this planer is pretty solid for the price. The mechanisms, the sides, beds, all of that is aluminum. The only plastic pieces are the shroud around the blades and the motor, as well as the on/off switch. It’s pretty robust for the price. Honestly, the DW735x has a lot of plastic as well. It’s 110v so you can use it on most any outlet in your garage or workshop, in the U.S.
I planed some spruce, walnut, and hard maple just to see how it performs. I also tested an epoxy serving tray to see how it handled the epoxy build-up in the dust collection chute. You typically don’t want to take off much on each pass, never more than 1/8”, and usually less than 1/16”. It will make your blades last longer, and your machine will run better. Typically when I’m setting the height for the first pass, with the power off I’ll push the board in and lower the carriage until the roller just catches, just enough that it will pull the board through. You shouldn’t have to push the board through. The machine should pull it through on its own.
A lot of benchtop planers are notorious for snipe, which is when the blade digs in on each end of the board. There are a couple of ways to prevent that. You can send through a scrap piece the same thickness as your board right in front of it, and that should eliminate the snipe on the front. Make sure the scrap is at least 12” long. Anything less than that can get jammed in there.

Craftsman planer has adjustable beds to reduce snipe.
You should also be able to adjust the machine to eliminate that snipe as much as possible. On the Craftsman, there are four bolts right underneath both the infeed and outfeed tables. That allows you to raise and lower those table, so everything stays nice and flat.
When you’re planing anything, I recommend hearing protection. You only have two ears, and they’re not going to last you a lifetime if you don’t take care of them. I like a set from 3M called Worktunes that’s Bluetooth so you can listen to audio books, podcasts, things like that.
I started with a spruce board to test whether there would be snipe or not. On the first pass, there was a pretty good bit of snipe. I adjusted those four bolts until the infeed and outfeed tables were about 1/8” higher than the bed under the carriage. That raises the board up just enough so when the rollers pull the board through, the rollers will pull the board back flat. I was able to eventually dial it in so that the snipe was minimal enough to sand off so you would never know it was there. If the board is thin enough, I do like to send the board through at an angle to help with both tear-out and snipe.

Planing at an angle when possible helps reduce tear out and snipe.
With the snipe adjusted out, I ran the spruce through multiple times until it was about ¼” thin. With the machine dialed in on the cheap spruce, I moved on to the maple. It did extremely well, and the finish on the maple is almost butter smooth, probably 120-grit or finer. There was a tiny bit of tear-out, but that’s common for maple, even on the DW735x. You can help that by spraying just a tiny bit of water to dampen the grain.
I then moved on to a hunk of walnut I had. After running it through several times, and then there was virtually no snipe. You could just barely feel it. Finally, I ran an epoxy board through because epoxy is notorious for clogging up planers and jointers. I ran it through several times on both sides then took the dust chute off to see if there was anything collected, and there was none. That’s actually quite promising for this planer.

Craftsman planer dust cover is removable
You can face-joint on the planer using a planer sled, which is just a ¾” piece of plywood with a cleat on the back of it. Mine is screwed to the back of the sled. You can take a board that has a twist in it, butt it up against the cleat, and by pushing down on one corner you can shim up the opposite corner so that it doesn’t wobble. I’ll then generally feed the sled into the planer cleat-end first so the rollers pull the board into the cleat. That will flatten the top side, so you can take the board off of the sled, flip it over, and run the board back through the planer. You’ve now got two flat, parallel sides. Super easy. Being able to face-joint that board with a planer is one of the reasons I recommend you get a planer before a jointer. If you have a table saw, you can joint the sides of the board using a table saw. I’ve detailed that method before in other videos.

One thing I absolutely encourage is the use of some type of dust collection, either a dust collector or a shop vac. Like any other planer, it’s going to throw out a bunch of chips and dust. You could also take it outside to plane your boards. If you’re a beginner or a woodworker on a budget, I highly recommend picking up the Craftsman planer. It performed better than I thought. Now, if you have it in your budget, I would recommend the DeWALT DW735x. I’ve had mine for over 5 years, and it’s given me zero trouble. It has been a workhorse, and it will last you a really long time.

Defiantly need dust collection or use the planer outdoors
What’s great about the Craftsman planer is that it takes up very little space. The infeed and outfeed tables fold up flat. For $300 to $400, depending on what sale you catch it on, it’s an excellent machine.
You can watch the full video review here - https://youtu.be/PWGV_jg1Hi8

Easily change the blades on the planer with the included tool