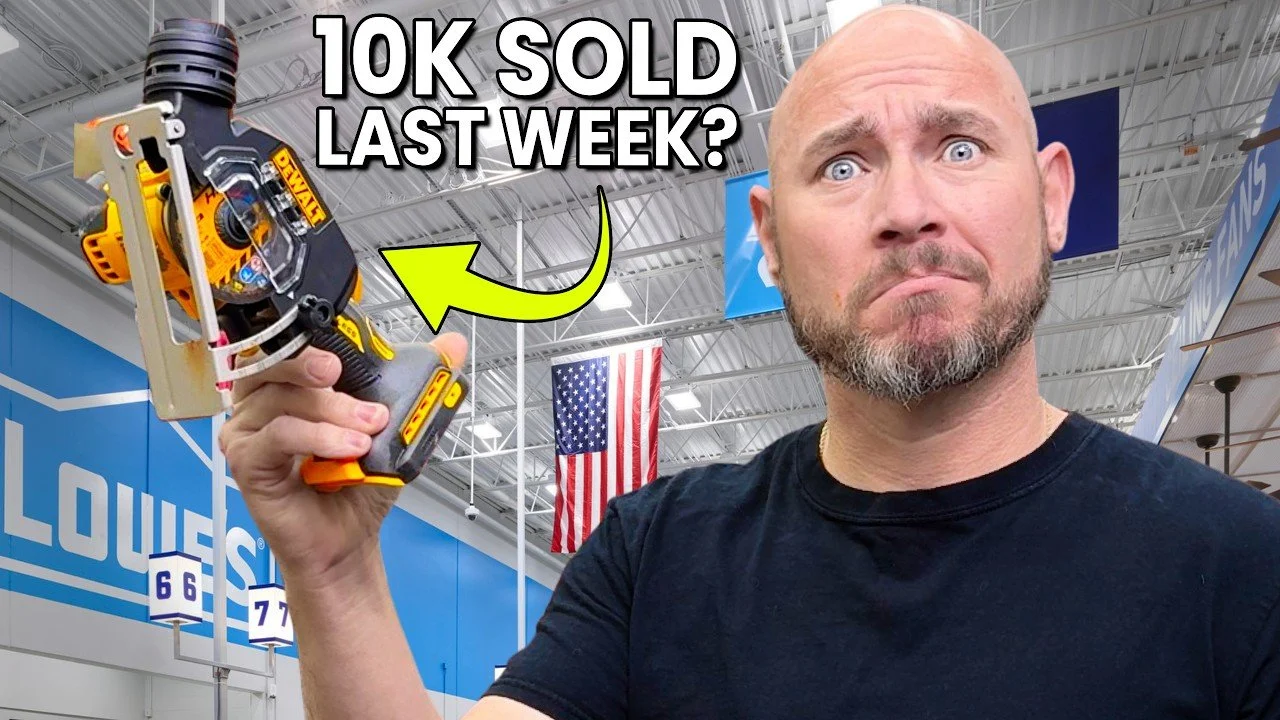
7 Miter Saw Mistakes You’re Probably Making (and How to Fix Them)
If you’ve been woodworking for any length of time, chances are you’ve made a few mistakes with your miter saw. I sure have — in fact, I broke my thumb using one because I got a little too comfortable. The miter saw looks safe, but that’s what makes it so sneaky. It’s one of the most used tools in the shop and, if used wrong, one of the most dangerous.
In this post, we’ll go over the most common miter saw mistakes beginners make, how to fix them, and a few shop upgrades that make your saw safer, cleaner, and more accurate.
This post contains affiliate links, which means I may earn a small commission if you buy through them—at no extra cost to you. It helps keep the tool deals coming, so thanks for your support! Prices are valid at the time of posting but may change.
Watch The Full Youtube Video Here: NEVER Use a Miter Saw Like This (Most Beginners Do)
Why Miter Saws Can Be Dangerous for Beginners
Miter saws don’t usually “kick back” like table saws do, but most injuries come from bad habits — not freak accidents. Whether it’s cutting tiny pieces, rushing through a cut, or wearing loose sleeves, a little complacency can cause big problems.
So let’s talk about how to stay safe and get cleaner, more accurate cuts every time.
1. Cutting Extreme Angles the Wrong Way
Every miter saw has its limits. For example, some cut up to 50° one way and 60° the other. If you try to “freehand” anything past that — say, 65° — you’re asking for trouble.
Why it’s dangerous:
When you freehand cut, your wood isn’t properly supported. It can shift, jam the blade, or even pull your hand toward the saw.
The fix:
Make a simple angle jig. Cut a 2x6 to fit your saw’s base, tape it down with double-stick tape, and make two opposing 45° cuts. Now, when your saw is set to 90°, the jig gives you that extra 20° safely. It’s a quick, safe, and accurate solution for those “beyond the saw” cuts.
2. Crossing Your Arms
This one’s common — especially for right-handed folks. You hold the saw with your dominant hand and reach across with the other to hold the wood. Don’t do it!
Why it’s dangerous:
Your arms end up crossing right in front of the blade.
The fix:
Always keep your hands on the same side as the material you’re holding. Left hand holds stock on the left, right hand on the right. Keep those hands out of the blade’s path — always.
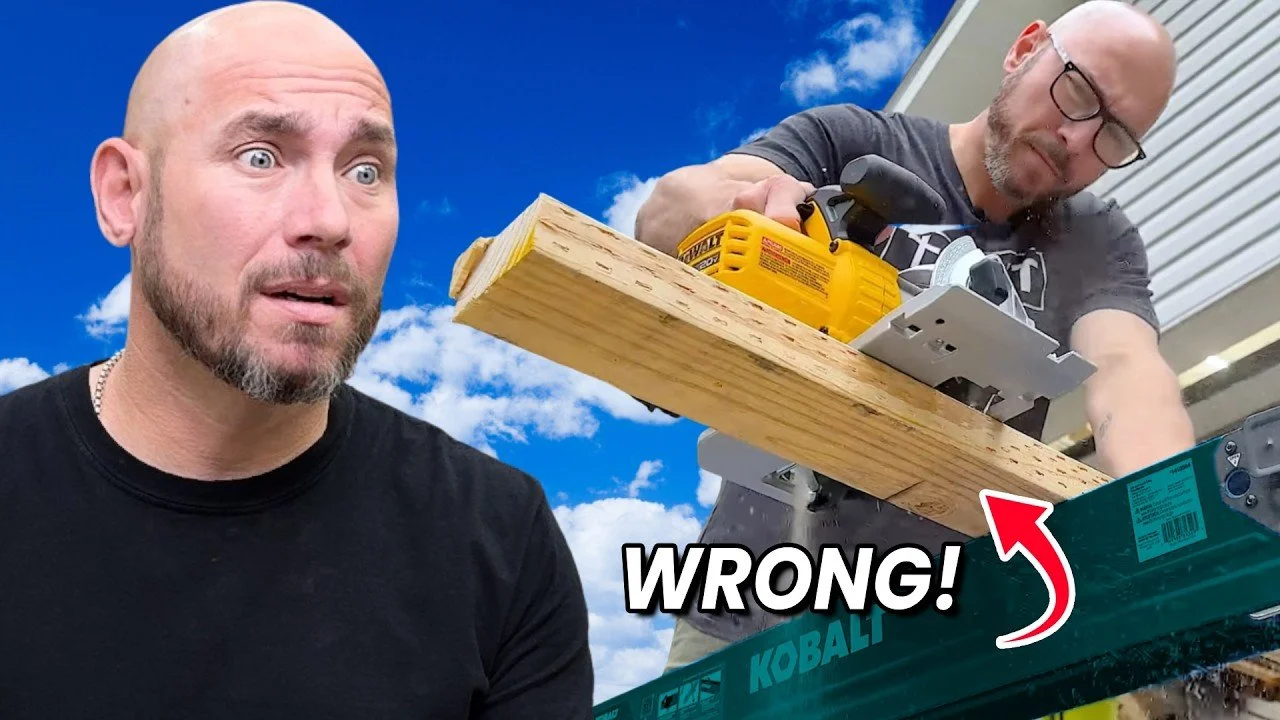
3. Cutting Twisted or Warped Boards

We’ve all been there — you pick up a 2x4 from the big box store that looks more like a propeller than a board.
Why it’s dangerous:
A rocking or twisted board can bind the blade and throw your cut off. Worst case, it can pinch and cause a kick or chip.
The fix:
Use the clamp that came with your miter saw to hold the board steady. If it rocks, accuracy drops — and so does safety.
4. Cutting Tiny Pieces
This is how I broke my thumb. I was holding a tiny piece with my hand, knew it didn’t feel right, and did it anyway. The saw caught the piece and slammed my thumb into the fence — that knuckle still hurts years later.
The fix:
Never hold small pieces by hand. Build a miter saw sled with MDF or plywood. It gives you a solid zero-clearance backer and lets you use a push stick (like the 10 Million Dollar Stick) to keep your fingers far away from the blade.
5. Rushing the Cut
Don’t “drop and chop.” Take your time.
Why it’s dangerous:
If you start cutting before the blade spins up to full speed or pull it up too soon, you risk tear-out, poor accuracy, and flying debris.
The fix:
Let the saw spin up fully before cutting and wait for it to stop before raising the blade. Slow and steady gives you cleaner, safer cuts.
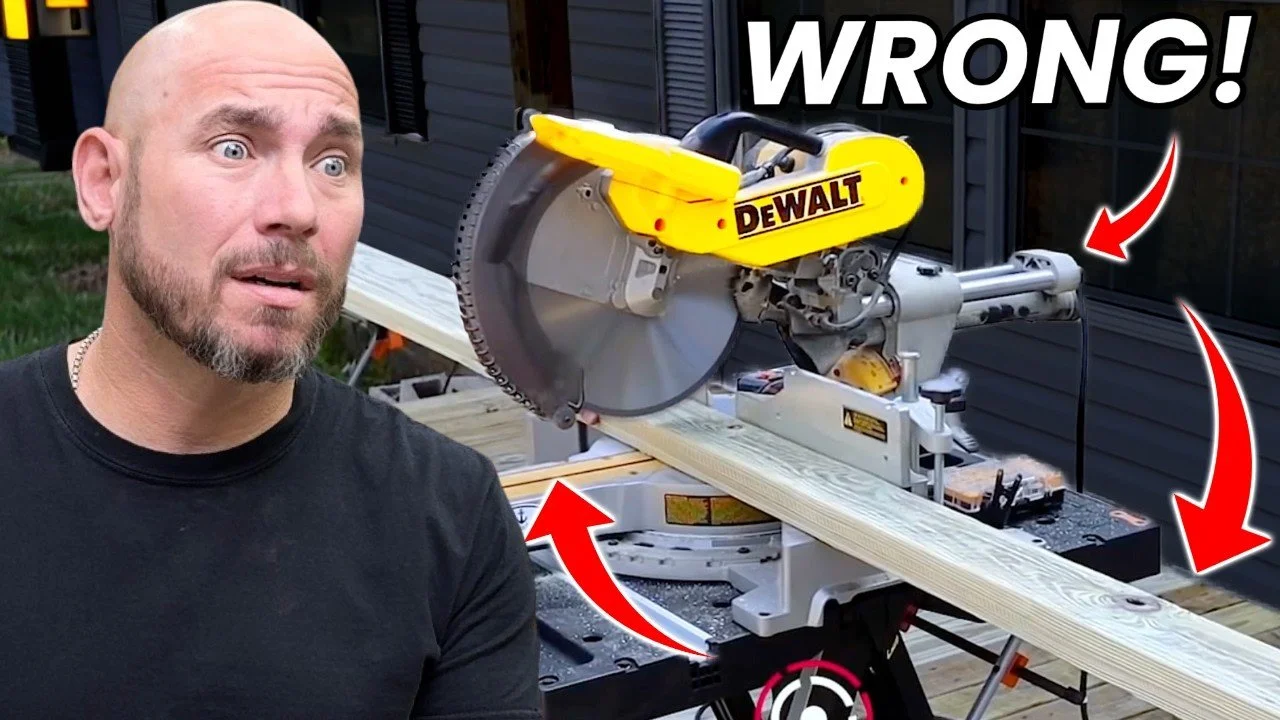
6. Trapping Material Against the Stop Block
Stop blocks are great for repeatable cuts — but they can turn dangerous if used wrong.
Why it’s dangerous:
If you lift the blade before it stops spinning, that loose piece can get trapped between the stop block and blade, then shoot back at you.
The fix:
Keep the saw down until it stops completely. Once the blade stops, lift it up and move on. That extra second could save your blade — and your fingers.
7. Wearing Loose Clothing
I know it’s tempting to keep that hoodie on in the cold shop, but loose sleeves and spinning blades don’t mix.
Why it’s dangerous:
If your sleeve gets caught, it can pull your arm into the blade faster than you can react.
The fix:
Tuck in loose clothing or roll up sleeves. Stay alert — complacency is what gets folks hurt.
Pro Tips: Miter Saw Upgrades for Cleaner, Safer Cuts
If you want to take your miter saw setup to the next level, here are a few upgrades worth checking out.
Zero Clearance
Add FastCap Zero Clearance Tape (buy here) or a custom insert to reduce tear-out.
Dust Collection
Miter saws are dust factories. Improve it with:
Miter Saw Blades
A sharp, high-tooth blade is safer and cuts cleaner. Try:
Safer Cuts
Use push sticks, clamps, and stop blocks from trusted brands:
Best Miter Saws for Every Budget
Whether you’re a beginner or upgrading your shop, here are Matt’s top picks:
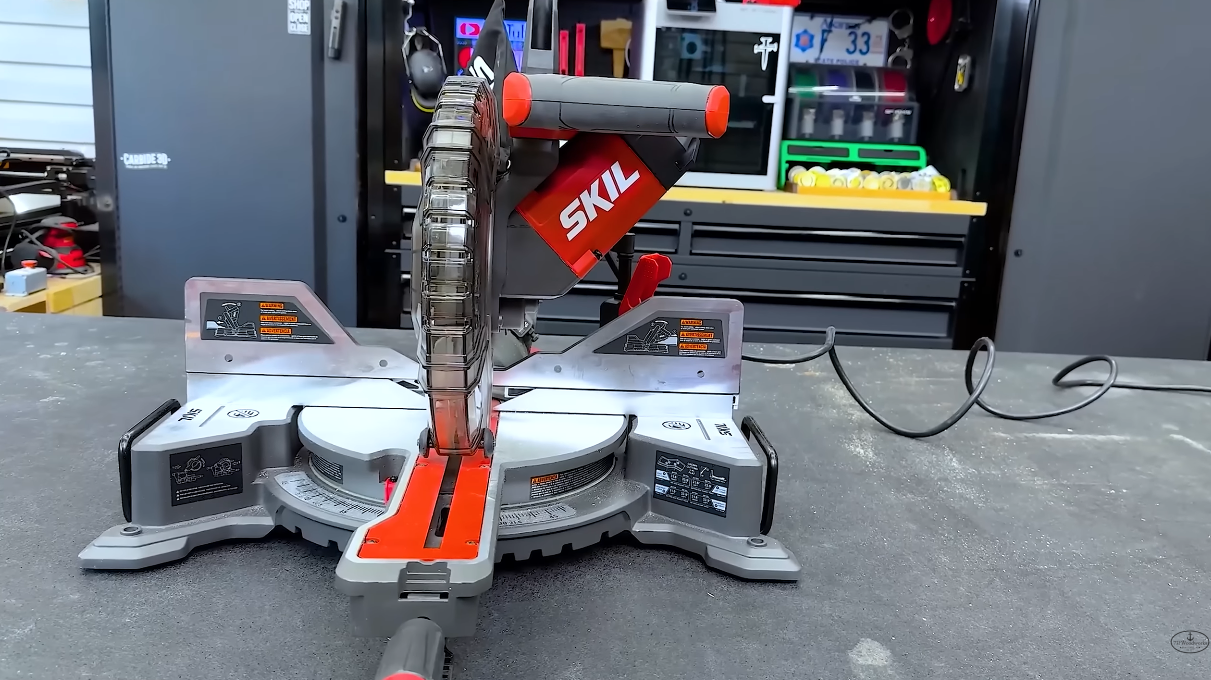
Budget Pick: SKIL 10” Dual-Bevel Miter Saw – accurate, powerful, and affordable.
Midrange Pick: DEWALT DWS779 – my workhorse for years.
Premium Pick: Makita 12” Miter Saw – smooth, reliable, and space-saving.
Compact Pick: Kobalt Miter Saw – great for small shops.
Want a complete setup? Grab my Miter Saw Station Build Plans and make your saw safer, cleaner, and more productive.
Final Thoughts
Woodworking should be fun — and safe. A miter saw can be your best friend in the shop if you respect it and use it right.
If it doesn’t feel right in your gut, don’t make the cut.
And don’t forget to sign up for my Daily Tool Deal Email — the best way to save money on tools I trust and use every day.
Fist bump, friend. Stay safe and keep building.