
5 Woodworking Tools Most Don't Know About
5 Woodworking Tools You’ve Never Seen
I’ve got 5 tools to tell you about that you’ve never heard of before, probably. Maybe. Well, let’s find out.
The links to the tools in this review can be found at the bottom of this post. Affiliate links are used on this website to help support the website. For more information, read our affiliate disclaimer.
#1 – Microjig Grr-ripper2 Go –https://amzn.to/436RTWL Every woodworker on Earth has heard of the Grr-ripper, or at least anyone who’s watched a woodworking YouTube video knows what I’m talking about. The Microjig Grr-ripper is one of my favorite push blocks that I’ve ever had and one of the most popular ones in YouTube videos. Microjig just sent me the Grr-ripper2 Go to try out, and it is awesome.

Original MicroJig Gripper - https://lddy.no/1fs73

The Grr-ripper 2 Go comes with a sticker that you put directly on top of the scale on your table saw. It’s super easy to apply, and it’s more of a static cling sticker, so it won’t leave any sticky residue if you ever want to remove that. What that does is give you a visual guide when you set your fence. You then look at the scale and the same visual on the Grr-ripper to see where the blade is. In other words, it tells you visually if you’ve got clearance, so you don’t cut your pushblock.


For example, you can see the different colors on the indicator sticker on your fence scale. If you match the corresponding color on the fence indicator to what’s facing you on the push block itself, you will clear the blade on your table saw every time. That is a super-cool feature. As you move your fence out, the indicator will move through the different colors, which all correspond with the colored labels on the push stick. The sticker that you put on your scale is so thin that it’s not going to impact your cuts or anything like that. I think that color code idea is pretty genius.

With the Grr-ripper 2, you can safely cut strips down to 5/16”. You can also use this push block on the jointer, at the bandsaw, or on the router table. Anywhere you use a normal push block, these will work. The nice grippy bottom is on the Grr-ripper 2 just as the original Grr-rippers are known for. It’s also a very nice, durable plastic.

I like this design because, just like with the other Grr-ripper, you’re able to keep pressure directly over the blade while you make your cut. Your cuts are then more accurate, they’re safer, and it virtually eliminates any kickback because you’re able to keep pressure down as well as against the fence through the entire cut.
#2 – Benchmark Rules and Rule Stops https://lddy.no/1fs70 – You may have heard of the Paolini pocket rules from Woodpeckers. It’s got a slide rule on it, it’s a rule, and it’s expensive. For less than $25, you can get a Benchmark ruler with two slide rules in either a ¾” or 1” width.

This is an excellent layout tool which can also make it easier to set the depths on aprons or legs consistently or even lay out parallel lines consistently. These things are super-handy to have, and I use them all the time.

These came with two slide rules. I usually only use one, so if you have an extra ruler, you can throw one on there. I actually have another ruler from Benchmark with markings in 1/64” and 1/32” increments. The slide rule fits on that ruler as well. If you need more contrast, Benchmark also make a black ruler with white markings. Once you tighten down the thumbscrew on the slide rule, it will self-square to the ruler, making layout marks super easy.

There are a ton of uses for these, and at this price they’re almost a must-have. The Benchmark rulers are extremely nice and probably one of the most underrated rulers that you can buy. They’re tempered Japanese stainless steel, and with the satin finish you won’t get a bunch of glare from your shop lights. It’s worth picking up a 12” and a 6”. I typically use the 6” more, so if you’re only planning to get one, I would recommend getting the 6” ruler.
#3 – 123 EVA Blocks https://amzn.to/44SqlVL – Most folks have seen and heard of 123 setup blocks, but those aren’t what I’m talking about. Bow Products makes 6” square EVA foam blocks that come in a 1”, 2”, and 3” thickness. You may have heard of Bow Products before. They make safer push sticks with an EVA foam tip that won’t shatter or break and cause injuries. They also make featherboards that have EVA foam tips.

These blocks have a couple of different purposes. You can stack the 1” and 2” on top of each other to give you a pair of 3” tall work supports in case you need an elevated surface to work on. If you are working on these – cutting, routing, or drilling – this foam will not hurt your blades or your bits. These work great on the drill press if you want a backer to prevent tearout. I personally like using them to elevate pieces I’m going to rout, especially if I just need to give something a roundover. If you typically use two pieces of scrap to do this sort of thing, those pieces of scrap have a tendency to slide around. These have a little grip to them, and we all know slippage is bad.


Because they’re EVA foam, they don’t compress a whole lot. They’re really sturdy for supporting lumber, and they won’t bend or squish on you. It’s a really cool product.
#4 – Magnetic Work Light https://lddy.no/1fsd9 – If you’ve known about this and didn’t tell me, shame on you. I didn’t know these existed. I use the magnetic work light on the bandsaw, but you can use these in multiple places. Most people don’t have very well-lit shops. My shop is well-lit, but even then, shadows can play with you when you’re trying to make nice detail cuts.

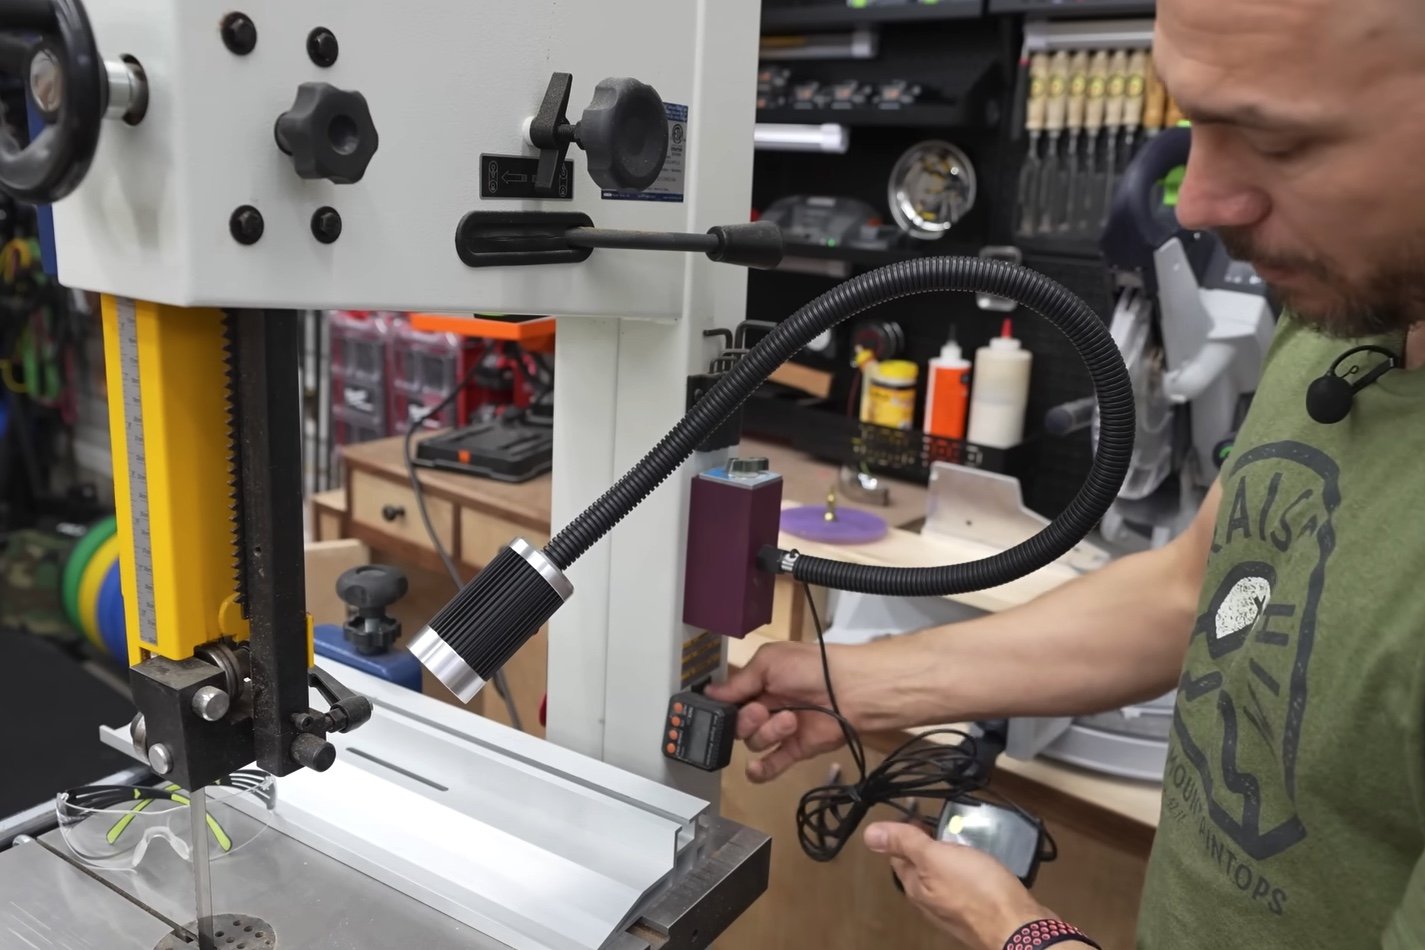
This light on the Super Nova Lamp is super bright, but it’s not so bright that it washes out your cutlines. It’s on a bendable gooseneck, so you can move it any way you want to get the exact position you need. I really like having it on the bandsaw. The power switch is on the head, and the magnetic base is controlled by a switch that allows you to move it around the shop and set it up quickly. My bandsaw happens to have an outlet on the back that is right where I can set the magnetic base and plug the light in. The magnet will work whether it’s plugged in or not.

I also have the smaller Galaxy Multi-Purpose Utility Lamp plugged in at the worktable in the hutch behind my work bench. I use this one all time, and as a matter of fact, it stays on 100% of the time. I mostly work here when I’m laying out and working on smaller things. It’s also on a gooseneck, so I can move it to where I need it, and when I’m not using it, it gives an accent light to the 731 Woodworks sign. It has three levels of brightness that you can change just by tapping the head. The worktable does come with an overhead light at the back of it, but it doesn’t light up above where I need to work.

Small workbench light https://lddy.no/1fsda
#5 – Domino Killer https://ebay.us/ZKynLn – If you’ve been woodworking for long, you know about the Festool Domino. It’s awesome, but man is it expensive. You may not have heard of the Tianli floating tenon jig. It fits several different routers. I’ve got my DeWALT cordless router in it. It’s easy to install, and it does the exact same thing as a Festool Domino, for the most part.

To install it, I took the fixed base off of my router and installed it into the collar on the jig’s base. The collar tightens down with four hex screws. I put in a ¼” downcut bit that I usually use on the CNC, but it works well for this application.

It has three different adjustments. You can adjust the side-to-side movement--in other words how wide your mortise is going to be. You have a depth adjustment, so you can get close to the center of the board. There’s also a depth stop adjustment, so you don’t plunge too deep.

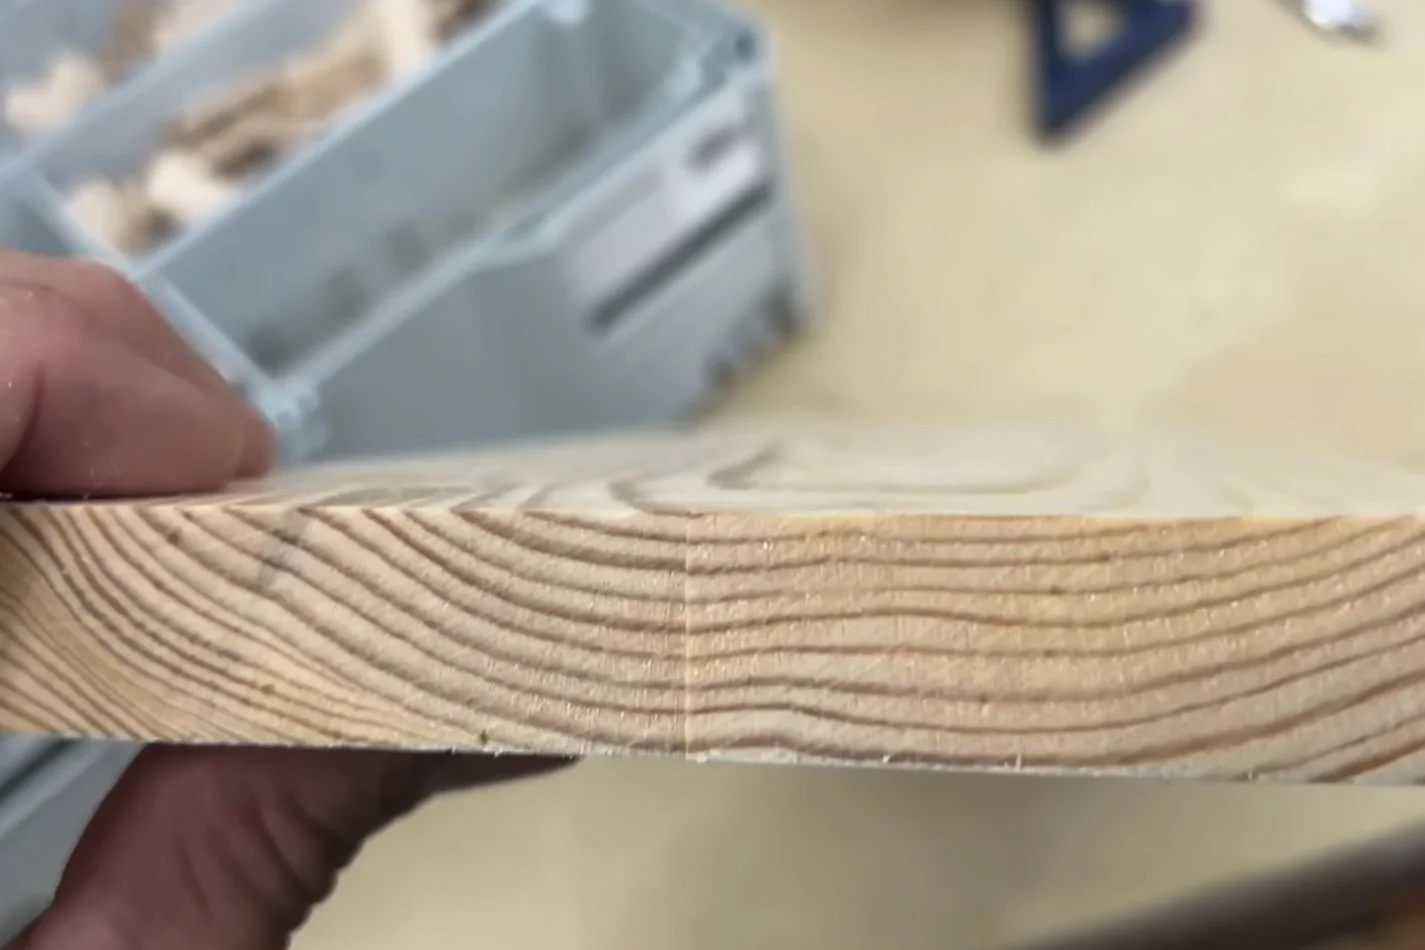
One thing I don’t care for is that it feels sketchy as all get-out when you start plunging. That spinning bit is so close to your hand. It’s very scary if you value your hand at all. After I did a few of them, everything seems to be okay, but it still makes me nervous. However, the fit is really good. I put two boards together just like I was building a panel. I was off maybe a 1/32” side-to-side because I didn’t hold it just right. However, across the face the two boards mated perfectly, giving me a flat surface, which is really what you’re after on panels.

I originally was going to make a t-joint, but my board was too narrow, and it wouldn’t set inside the depth stop. If you’re trying to do thinner stock then this isn’t going to work. For panels and things like that though, it’s a pretty cool little item.

DeWALT Router I'm Using - https://amzn.to/3GflRhJ
Festool Domino - https://amzn.to/3mhqdy9
Domino Assortment - https://amzn.to/437LvyU (FYI, it took my router jig several weeks to arrive after ordering from the link above)
You can watch the full video review here - https://youtu.be/sAs3pvMMVSg
Greatest Free Gift I've Ever Received: http://story4.us/731Woodworks
Related Articles: