The Ultimate Table Saw Upgrade: 5 Hacks
Welcome back to the shop! If you are looking for the absolute best way to level up your woodworking game, you are in the right place. Today, I am sharing what might just be the coolest table saw upgrade I have seen to date in this video. We are talking about an accessory so good it could actually replace your jointer and your router table.
Whether you are diving into beginner woodworking or you have been around the shop a while, getting the most out of your tools is always the goal. I am going to show you how a simple addition can add five brand new functions to your saw.
This post contains affiliate links, which means I may earn a small commission if you buy through them at no extra cost to you. It helps keep the tool deals coming, so thanks for your support! Prices are valid at the time of posting but are subject to change at any time.
Watch The Full Youtube Video Here: I Found a Secret Table Saw Upgrade (Jointer Killer?)
The Foundation for Better Cuts
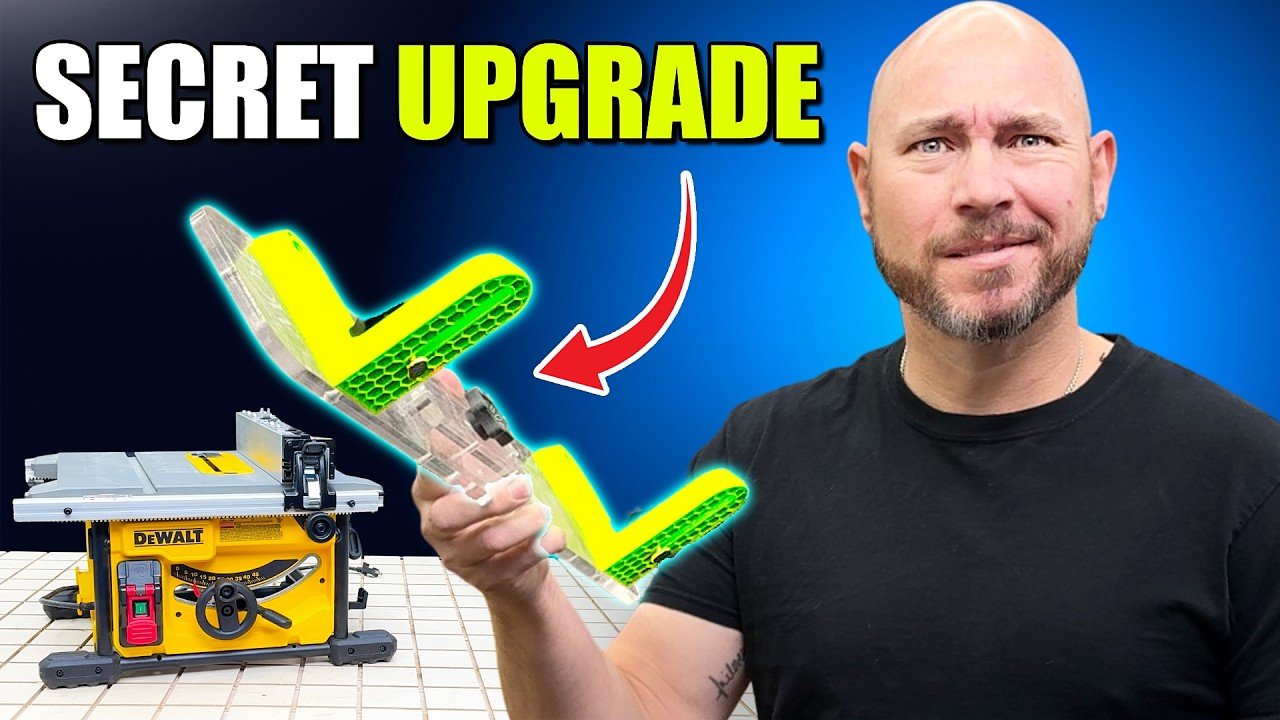
A couple of years ago, I showed y'all the Bow Xtender Fence Only. It is an incredible system that takes your table saw to another level, especially if you are working with a smaller job site saw like a DEWALT Table Saw. You can also grab the Bow Xtender 36 inch Fence Bundle or the Bow Xtender 46 inch Fence Bundle depending on your shop needs.
When you are cutting long stock on a smaller saw, having the piece fall off the back really sucks. The Xtender, especially when paired with Bow Infeed and Outfeed Supports, gives you that crucial support. It also lets you apply downward pressure using vertical featherboards. Paired with standard Bow Featherboards, you get two points of pressure holding your stock securely against the fence and the table.
Enter the Bow L Fence Add On
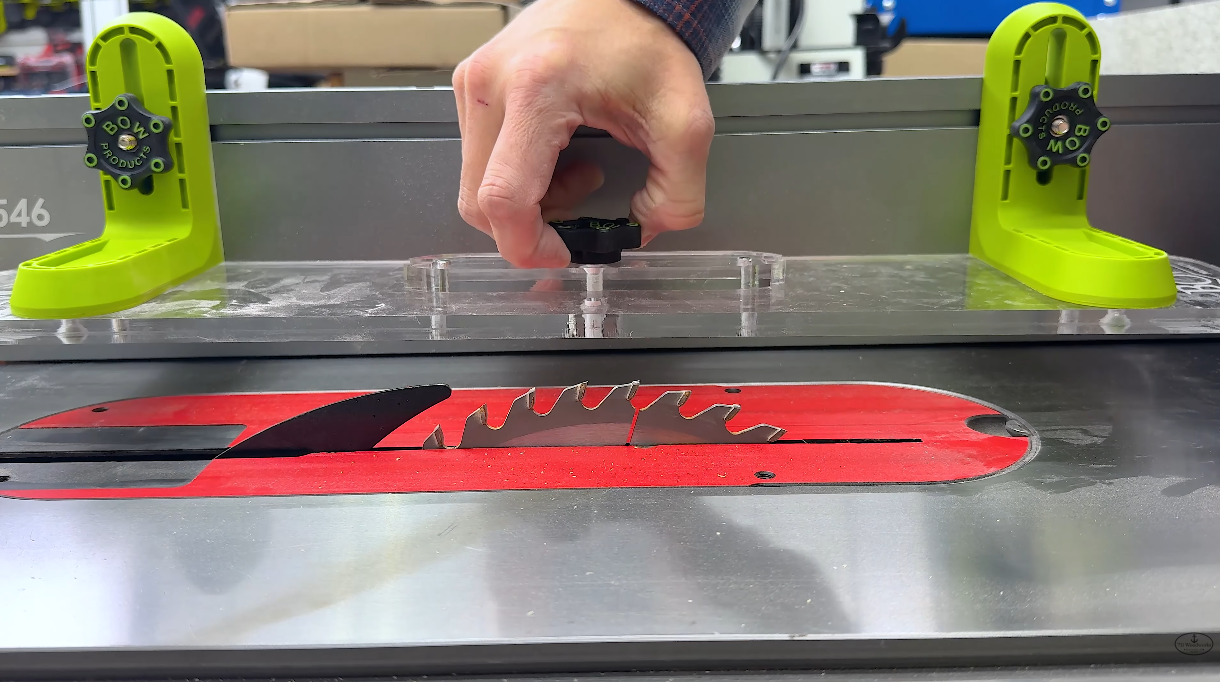
Now, Bow has released the Bow L Fence, and it attaches directly to the T tracks of your Xtender Fence. It also works perfectly with TSO Table Saw Fences. Setting it up is dead simple. It comes with two L brackets, three knobs, and some screws. You just slide it on, secure it with Bow Fence Clamps, and you are ready to roll.
Well, you are ready after you peel off the protective brown paper on the acrylic.
Once it is on, you can adjust the height so your template rides on the fence while a clean blade like the CMT 40 tooth Table Saw Blade clears safely underneath. Line it up square and it unlocks massive versatility. To get everything perfectly squared up and measured, I always keep my Milwaukee Tape Measure handy.
5 Amazing Table Saw Hacks
Here are the five ways this simple upgrade will transform your shop:
Template Cutting: Instead of dropping serious cash on a router table setup to replicate parts, you can do it right here. Just apply some Double Stick Tape to your template, stick it to your blank, and run it against the L fence. You can easily batch out identical pieces in minutes.
Tapering: Need to taper a leg from 4 inches down to 2 inches? Tape a straight piece of plywood to your stock on your marks, ride it along the fence, and you get a dead accurate taper every single time. Pairing this with a good Miter Gauge for your crosscuts makes your table saw a precision machine.
Rabbeting: Cutting a groove along the edge of a board usually means building a sacrificial MDF fence. Not anymore! The L fence acts as your guide, giving you perfect rabbets for picture frames. It works incredibly well when paired with a smooth cutting CMT Dado Blade.
Edge Jointing: A budget jointer will run you upwards of 350 bucks. If you just need to straighten rough or live edges for cutting boards or tabletops, this fence does the trick. Tape a straight reference board to your stock, run it through, and you have a perfectly straight edge.
Cutting Radiuses: I tested this by cutting a dog tag shape using a template from Crafted Elements Templates. While it took a couple of passes on the table saw, this fence also comes with a radius guide that mounts to your bandsaw for cutting inside and outside radiuses safely and accurately.
Keeping Your Shop Safe
I am always a little skittish about certain cuts, and I absolutely do not want my hands near that blade. Even when I was making cross grain cuts with this setup, it felt incredibly safe and controlled.
Of course, you still need to practice good table saw safety. Always use reliable push blocks like the MicroJig GRR Ripper or a solid Bow Push Stick. If you are looking for the ultimate peace of mind, consider upgrading to a SawStop 3HP PCS Table Saw to completely protect your fingers.
Grow Your Skills and Your Shop
If you are ready to turn your passion into profit, come join my coaching community over at Sawdust Startups on Skool. We dive deep into growing your woodworking business and maximizing your shop time.
Also, do not miss out on massive savings for your shop. Make sure you sign up for The Cut List, my daily tool deal email newsletter, to get the best discounts sent straight to your inbox.
This L fence system is wildly functional and absolutely worth checking out if you want more out of your tools. Stay safe, have fun building, and check out more of my tool reviews and tutorials in the blog posts linked below. Big old virtual fist bump to y'all!