
The First 5 Hand Tools Every Woodworker Should Buy
The First 5 Hand Tools Beginner Woodworkers Should
Affiliate links are used on this website to help support the website. For more information, read our affiliate disclaimer. This review was not sponsored. I purchased every sander myself.
#1 – Tape Measure – The mighty tape measure is something that every woodworker on earth, well at least in America anyway, must have. It really doesn’t matter which one you pick in most cases. A lot of people just pick up the old Standby Stanley 25’ tape measure. That’s what I started out with in 1995 in construction. Those work okay, but there are better options.
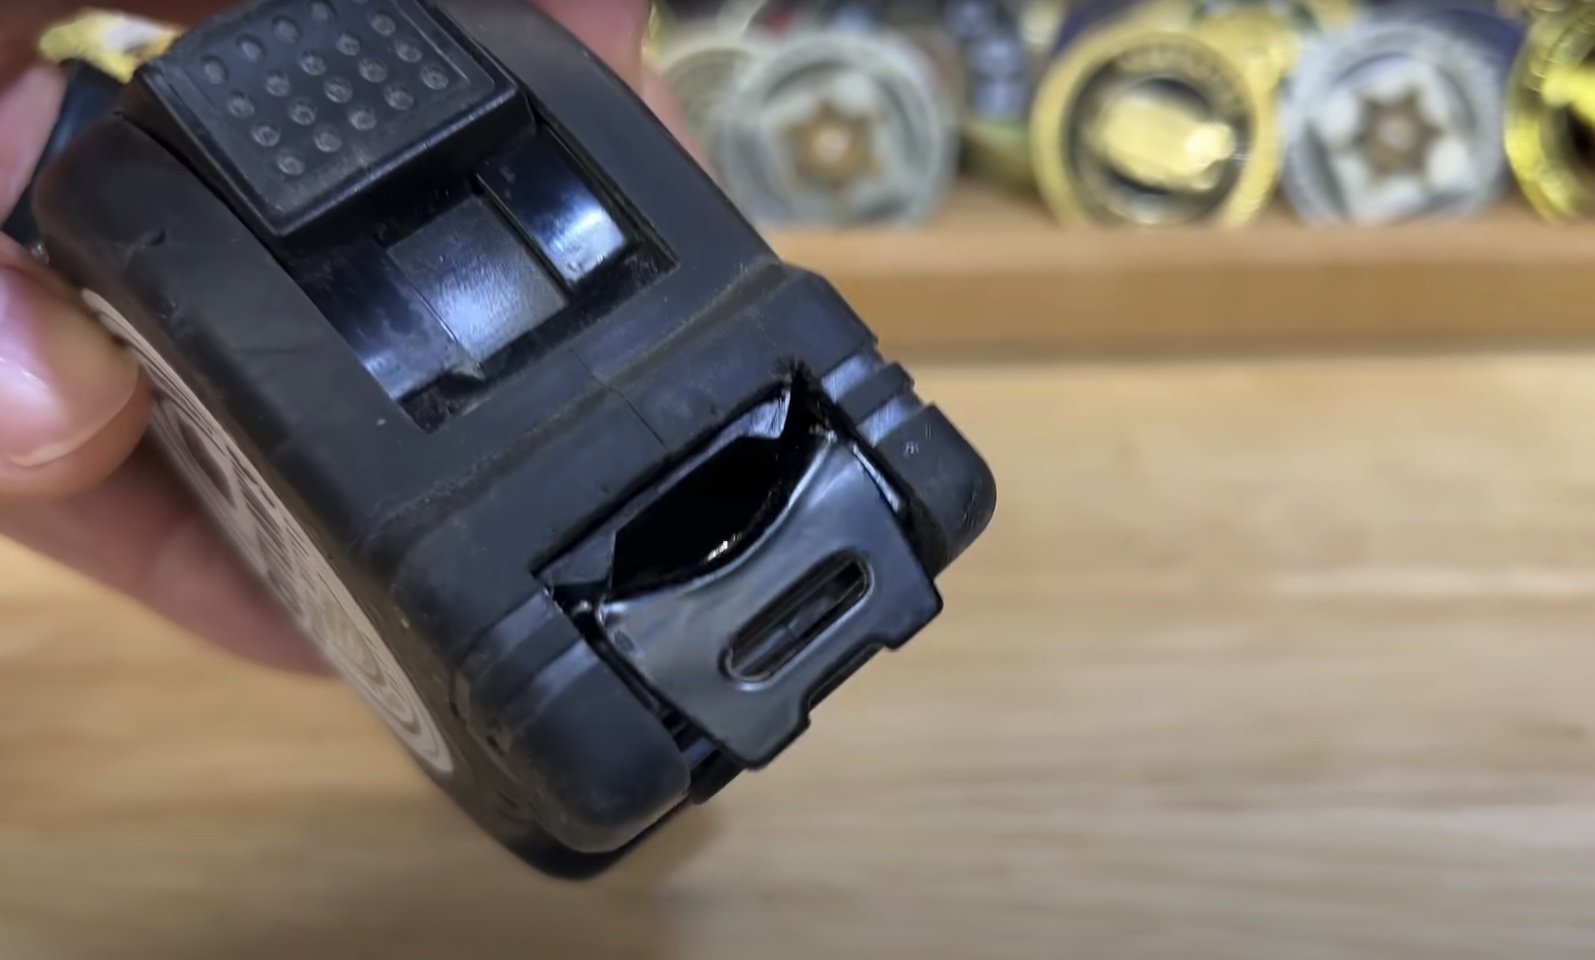
My favorite is the Fastcap Old Standby 16’ tape measure. I have four of these in the shop. The reason I like these is they’re durable, and at 16’ it’s not as heavy or bulky. In most woodshops, you won’t need a tape measure over 16’. They’re also very inexpensive. Another reason I like these is that the blade on the end is protected. If you do happen to drop it, the blade is protected and is less likely to get damaged, which would throw the whole tape accuracy out of whack. It has a nice rubber coating, so it’s a little more durable than the metal-housed tape measures.
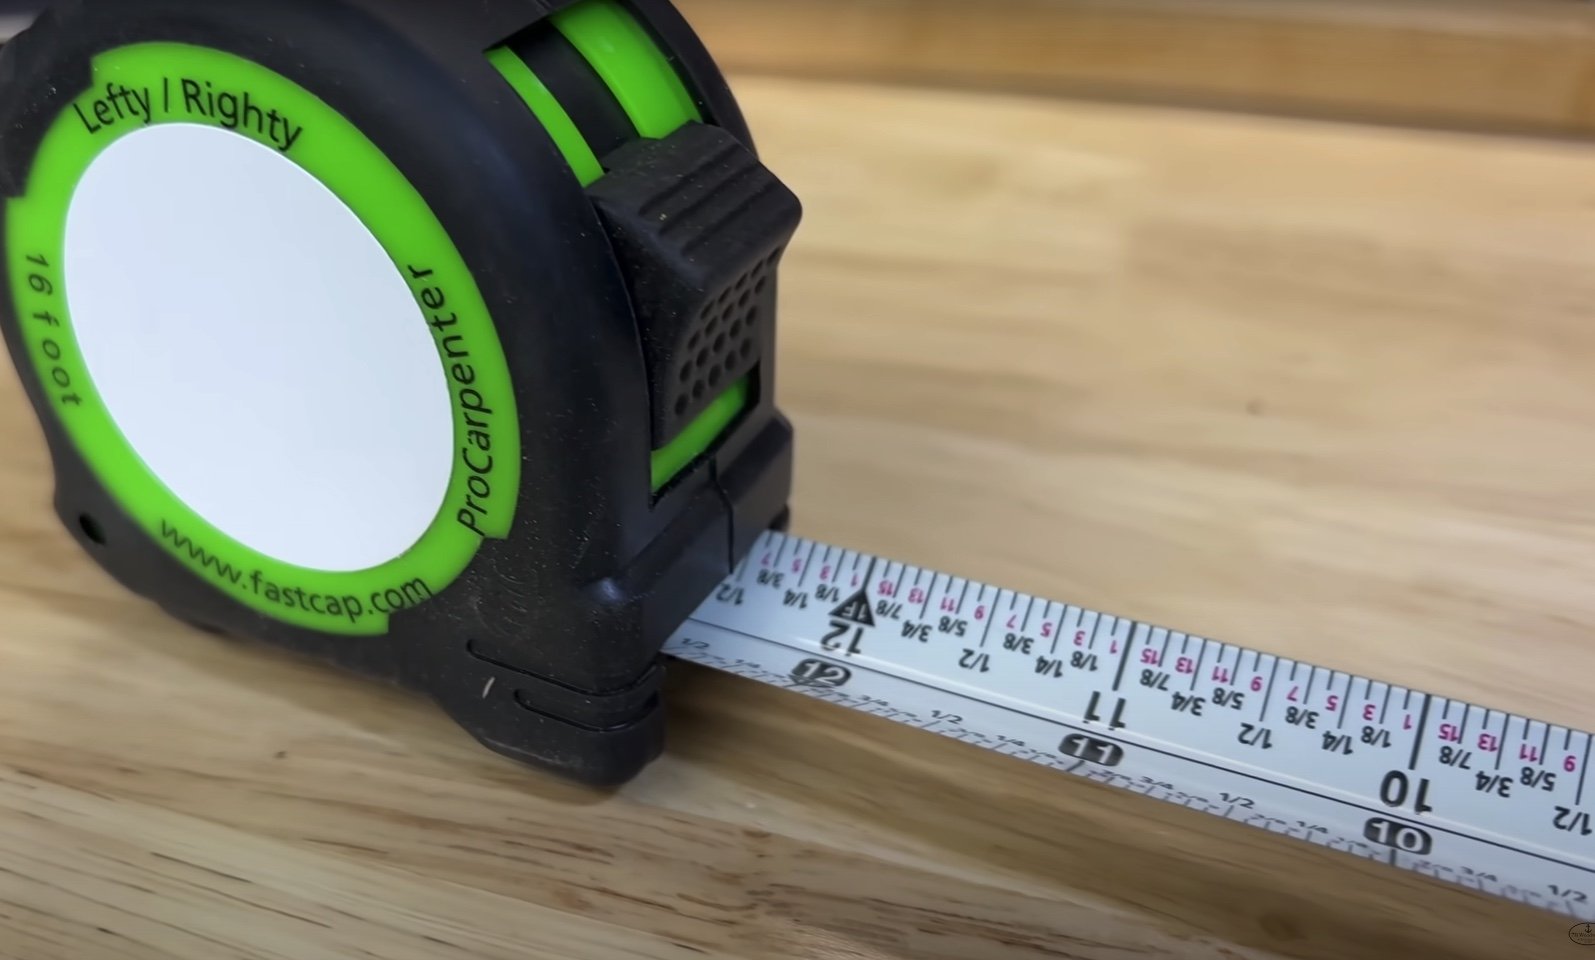
Fastcap also makes a Lefty/Righty tape measure that’s pretty neat. This one is especially helpful if you’re a beginner and get confused on what’s an eighth or a sixteenth. Those are pre-marked on both sides of the tape, so you can easily read it. With most other tape measures, you’ll be reading it upside down depending on which way you’re looking at it. It’s the same design and form factor as the Old Standby that I like so much.

One important thing to keep in mind: if you have multiple tape measures in your shop, be sure to only use the same one on any given project. Even similar tape measures (or even same name brand) can be slightly off from one another. I lined up three different tape measures, and all three read differently. That difference can come down to the difference in the slack in the blade, whether it’s bent or not---things like that. Just pick one and use it for that project.
#2 – Square – If you look online or in a store, you’re going to see so many options that it can get confusing. I suggest you buy a Swanson speed square as your first square. This will do most everything you’re going to need. It’s an aluminum 7” square, and it will allow you to quickly mark angles with it. This is, in my opinion, the best square for most projects and most beginners.


You may need a bigger square from time to time, and when you do, a framing square is what you want to have. They’re very inexpensive, and it’s a good starting point. With these two squares you can accomplish a lot, and you can generally pick them up for less than $20 for the pair.

There are a couple of nice features of the speed square. It has a shoulder, so you can lay it directly on top of your stock (#tubafour) and make your mark. It also has graduated marks along the edge, so you can turn it on its pivot point to mark whatever angle you need.
Power Tip – When you’re looking at framing squares, don’t go cheap. Pick up one of the name brands – Stanley, Empire--or one of the other common ones. The first thing you do when you get that square into your shop is find something with a known square edge, like a piece of plywood or your workbench top. Butt the short edge of the square against the edge of your workbench and make sure it’s tight. Along the long edge, you’re going to scribe a mark with a pencil. Then you’ll flip the square over, line the edge up against your mark, and do the same thing. That mark should be the exact same. If it’s not, your square is not square, and you need to take it back and get a different one. You can do that with any square in your shop so long as that leading edge is straight.


If you do have a framing square or you’re going to get one, you can also pick up a fence that slides right onto your framing square. You just thumbscrew-tighten it down to hold it in place. This essentially gives you a large speed square.

Once you have both of those, I highly recommend getting a combination square. These are handy for a bunch of different reasons. They make it easier to set depths, and they’re adjustable to get into tight spaces. One of my favorites is the Woodpeckers indexable square. It has a couple of different features that are not found on a lot of other squares, but it is very pricey. If you’re on a budget, the Swanson one is also really good.


A lot of wood working shops like to have small triangle square or carpenter’s squares. Honestly, I use the tiny squares more often than the larger squares, especially on smaller projects.
Last but not least are small 6”-12” squares. Woodpeckers makes some great ones, but again, very expensive. Taytools has some small machinist squares that are less expensive but also very accurate. If you have some of the other squares, these aren’t necessarily needed, but they are nice to have.
#3 – Clamps – Every woodworker on earth needs clamps. When you start looking at all of the clamps out there and don’t know what to buy, it can be very confusing. You’ve got squeeze clamps, F-clamps, parallel clamps, pipe clamps – the list goes on and on.

You definitely need some F-clamps in your shop. These are probably some of the most handy clamps, and they can do the job of a lot of other clamp types. From a Good, Better, Best standpoint, Harbor Freight makes a pretty Good clamp, though the metal on the bar is a little too soft. It will bend on you if you put too much pressure on it. Irwin makes a Better clamp for about $10 or $15 per clamp. Jorgensen makes the best F-clamp in my opinion. They’re very well made, heavy duty, and they’ll last you a lifetime.

If you’re doing panels or things like that, one of the most inexpensive ways to add to your clamp collection are pipe clamps. These are very affordable, and they just use standard pipes. You can get both the clamps and the pipe on Amazon, and you can really stock up on these to start making your panels. Pipe clamps are probably the most under-rated clamps as far as value.

There are also parallel clamps, and I did a whole video on the different parallel clamps, but for the most part Bessey is going to be my pick. Pound for pound they’re the best for your money. The Bremen clamps from Harbor Freight are also very good if you have a Harbor Freight nearby and want to save a little money.

There are a lot of clamps out there that you can pick up along the way, but if you’ll pick up just some F-clamps and a few pipe clamps to get started, you’ll be good to go.
#4 – Chisels – This is one of those tools that you don’t really understand how much you’ll use them until you get them, especially if you’re building certain projects. Here’s a cautionary tale so that you won’t make the mistake I made. Don’t get a cheap set of chisels and expect them to last you very long. The metal on them is too soft, they don’t hold an edge, and they just don’t cut cleanly, which is what you need chisels for. Now, there’s nothing wrong with picking up a cheap set to do rough work, but you definitely want to pick up a good chisel. I would recommend getting a ¾” chisel if you only have the budget for one.


Narex makes some of the best in the business, and you don’t have to take my word for it. If you check out this video from Wood by Wright, he tested a number of different brands of chisels, and the Narex came out on top - https://youtu.be/13CLeUz9upc. I have a full set of Narex, and they’re my pick if you’re only going to pick up one set. These are a buy-once, cry-once type thing. If you’re not in the market for that, definitely pick up a good ¾” chisel and possibly a 3/8” and maybe a ¼”. Those will get you by until you can afford to pick up a better set.

#5 – Mallets – Every woodworker needs a mallet. You’re going to use this to bump pieces of wood into the right position. You’ll use them with your chisels, things like that. I actually started out with just the standard rubber-headed mallet, which will work just fine. It’s very inexpensive. There’s also a 2-headed mallet with a softer side and a firmer side.

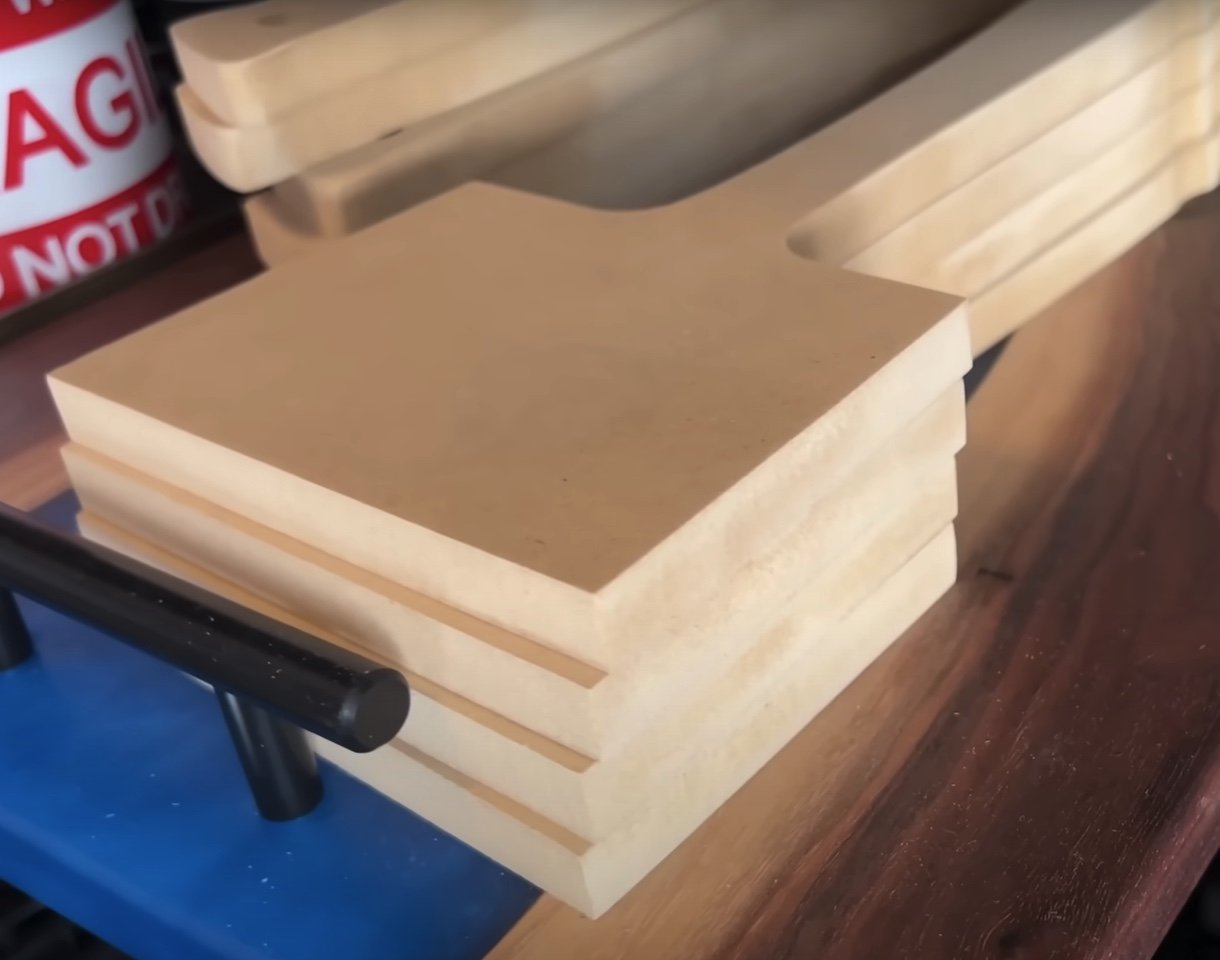
Alternatively, you can do what a lot of woodworkers do and build your own. We actually sell a mallet template to help you build them faster. A wooden mallet is really my pick and is the one I use the most. A rubber mallet is good to get started with, but a wood mallet won’t mar the wood or cause any dents. It’s just a good, solid option to have in the shop.
If you are going to build your own mallet, use hardwoods. You don’t want to use pine or spruce because the hardwood is going to hold up better. It won’t dent or deform under normal use. Walnut, maple, oak, and hickory are all good choices.
Bonus – You definitely want to pick up a flush-trim handsaw if you don’t already have one. These are great for cutting small parts or flush-trimming dowels. They come in various sizes, including one from Suizan that’s made for cutting dovetails. It comes with a fine-toothed side for softwoods and a coarse-toothed side for cutting hardwoods. The one I have folds up so that the teeth are protected by the handle.


You can watch the full video review here - https://youtu.be/88N4YfyTCow