
Kreg Track Saw Review
Kreg Track Saw Review
Buy the Kreg Track Saw here: https://amzn.to/3PzTNtn
The Kreg Track Saw is one of the best track saws under $500 but is it right for your shop?
This review guide is not sponsored. However, Kreg did send me the plunge saw and all accessories for free to try out. I gave the complete kit away later so I was not compensated to do this review in any way. Affiliate links are used on this website to help support the website. For more information, read our affiliate disclaimer.

I neglected getting a track saw for a very long time. Although, if you watched the breadboard coffee table build that I did, I could have really used a track saw. When I went to cut the ends off, so the table would match up to the breadboard, the straight edge and circular saw didn’t work. The reason it didn’t work is because the straight edge is only clamped on both ends. You can use double-sided tape to help the center stick, but it doesn’t always hold like it should. It’ll move just a little bit, which is enough to throw things off.

The track has a t-track channel built into it. That allows you to easily connect additional track. There’s also a piece that attaches to the end of the track that will help keep your power cord and dust collection hose from getting hung up on the metal edge of the track.


Like with other track saw tracks, you set the track down where you want it on your workpiece, then set the saw on the track. That’s it, and you’re ready to cut. Now all you need to do is set the depth-stop gauge. It’s really simple to do. You just loosen the thumbscrew on the gauge, move it to the depth you want, and tighten the thumbscrew back down.

You can also make bevel cuts from 0 all the way t0 47-degrees. In order to get to 47-degrees, you angle the saw to 45-degrees and then use the override button to slide it out to 46- or 47-degrees. Sliding the bevel back to 0, there’s also an override that will allow you to set the saw angle to -1.

There are a few features that a track saw has that a regular circular saw does not. One of the most important is the riving knife similar to what you find on a table saw. This riving knife will help prevent kickback by keeping the cut from pinching back on the saw blade. There’s also an anti-splinter guard that drops down to your workpiece to help reduce the splintering you usually get with plywood. On the track itself, there’s a strip along the cutting edge to help reduce splintering.


The Kreg track saw also has an anti-kickback feature. There’s a knob you turn that will engage a piece that rides in the track channel to prevent the saw from kicking back at you. One feature I love is that Kreg included onboard tool storage in the handle. The two Allen wrenches you need to make adjustments on the saw are stored inside the handle and lock down so you won’t lose them. As with most track saws, there are track adjustment knobs to secure the saw to the track with no play back and forth.

The Kreg saw features a variable speed from 1 to 6 and comes with a dust collection boot. If you take that boot off though, you can just connect it to a shop vac. The port pivots to make using a shop vac easier. The little dust boot actually does a really good job, but when you hook the saw up to a shop vac it’s a night and day difference. You’ll still get a little bit from the blade throwing the dust out, but you’ll collect a lot of it when connected to a proper dust collection system.
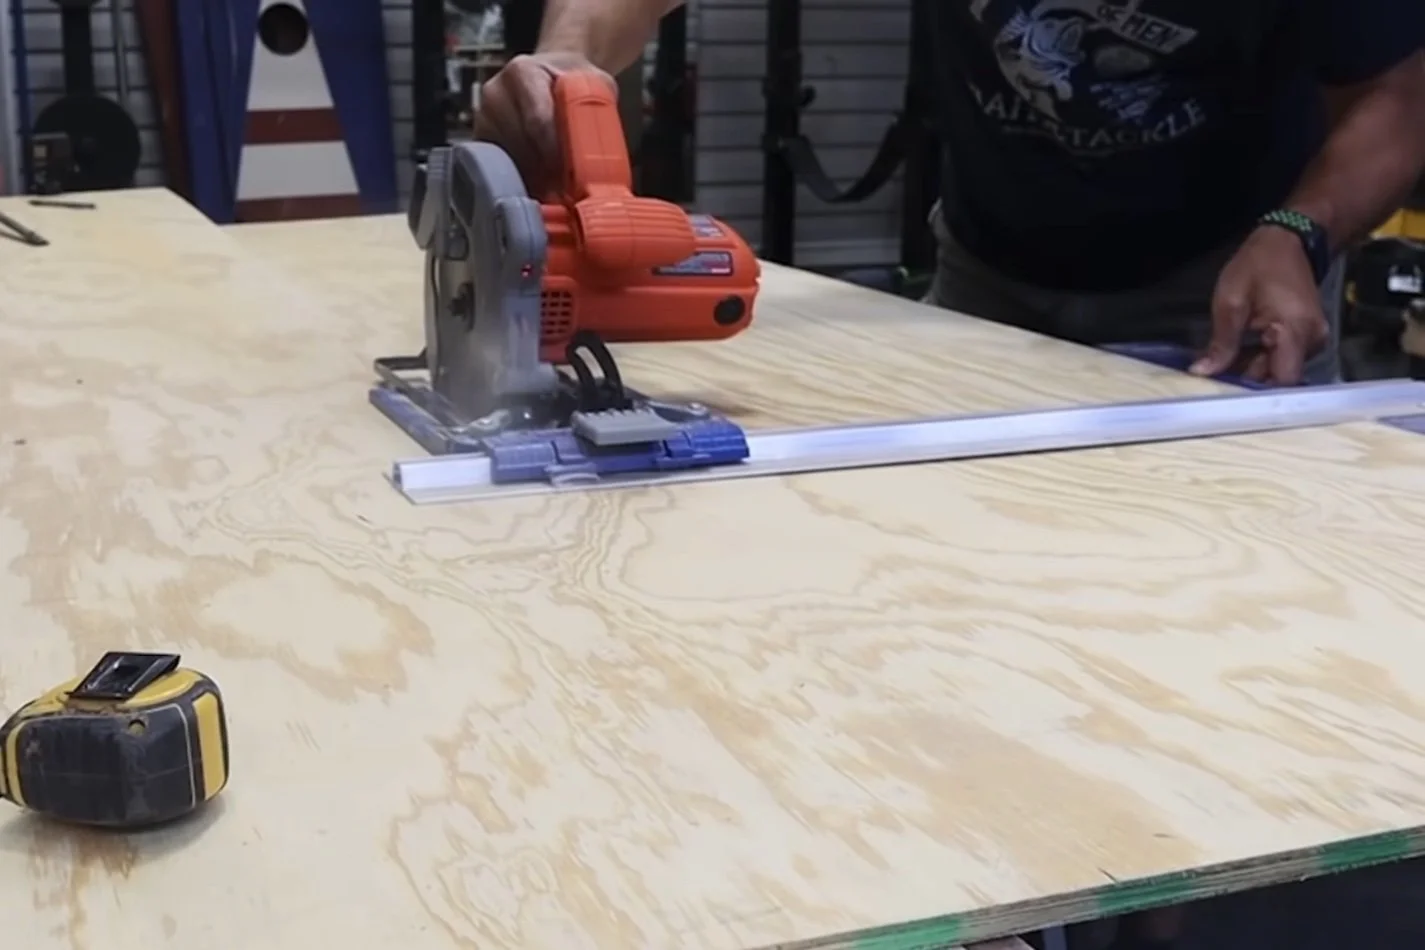
As far as splintering goes, the saw did a really good job of making a nice, clean cut. The saw is extremely easy to use. It felt really safe and secure riding on the track, which was one of the things I was concerned about. It was solid and cut perfect lines every time.

I actually got to use this track saw on my closet project with custom built-ins. We did it all out of 3/4” plywood. I used the track saw for a lot of that project, and one thing I really liked was how fast it was to set up. I was able to make my marks, set my track on the sheet, and just go.


I did use the table saw as well for rip cuts because I only have the one track. (Well, I only had one track at the time. I’ve got two now.) It’s probably a marketing thing or an upsell thing. I haven’t asked, but they should give you two tracks. As far as I know, all track saws do this. I know Festool’s that way, and I think WEN is that way. You get enough track to make a crosscut across a sheet of plywood. If they gave you an extra length of track, you could make a full 8’ cut down the length of a sheet of plywood. For this saw, you’re looking at about a $100 add-on for another length of track, and that’s just one of those things that I think should be included. I know it’s probably to keep the cost down. They’re in business for a reason, so they know what they’re doing. It would be nice, though, if that track were included.

One of the things I really like about the track is the fact that when you set it on the plywood, it’ll stick. The reason for that is on the underside there are two anti-skid bars running down the length of the underside of the track. It feels like foam. It’s not sticky to the touch, but it will stick to the plywood. One thing I will caution is that if those two anti-skid runners get dusty or dirty, the track won’t stick as well. That means the track will move a little bit when you’re making that cut. Be extremely cautious with that.

However, if you have any type of dovetail clamps or track clamps, the bar will slide into the underside of your track, and you can clamp it down to your sheet goods to ensure it doesn’t move. Clamping it down is actually the recommended method.


One really cool accessory that you can get are the parallel guides. They’re basically a tape measure that attaches to the track in that t-slot I mentioned earlier. Once it’s secure to the track, you then pull the tape measure out of the back of it and hook it to the edge of your plywood. So, if you wanted to make a 38” cut, you move the tape measure out to 38”, lock it down, then pull the track tight against the end of the tape measure. You can then repeat the process with the parallel guide on the other end. Once both are set, you can just set your saw on the track, and you’ll make a cut at 38”.
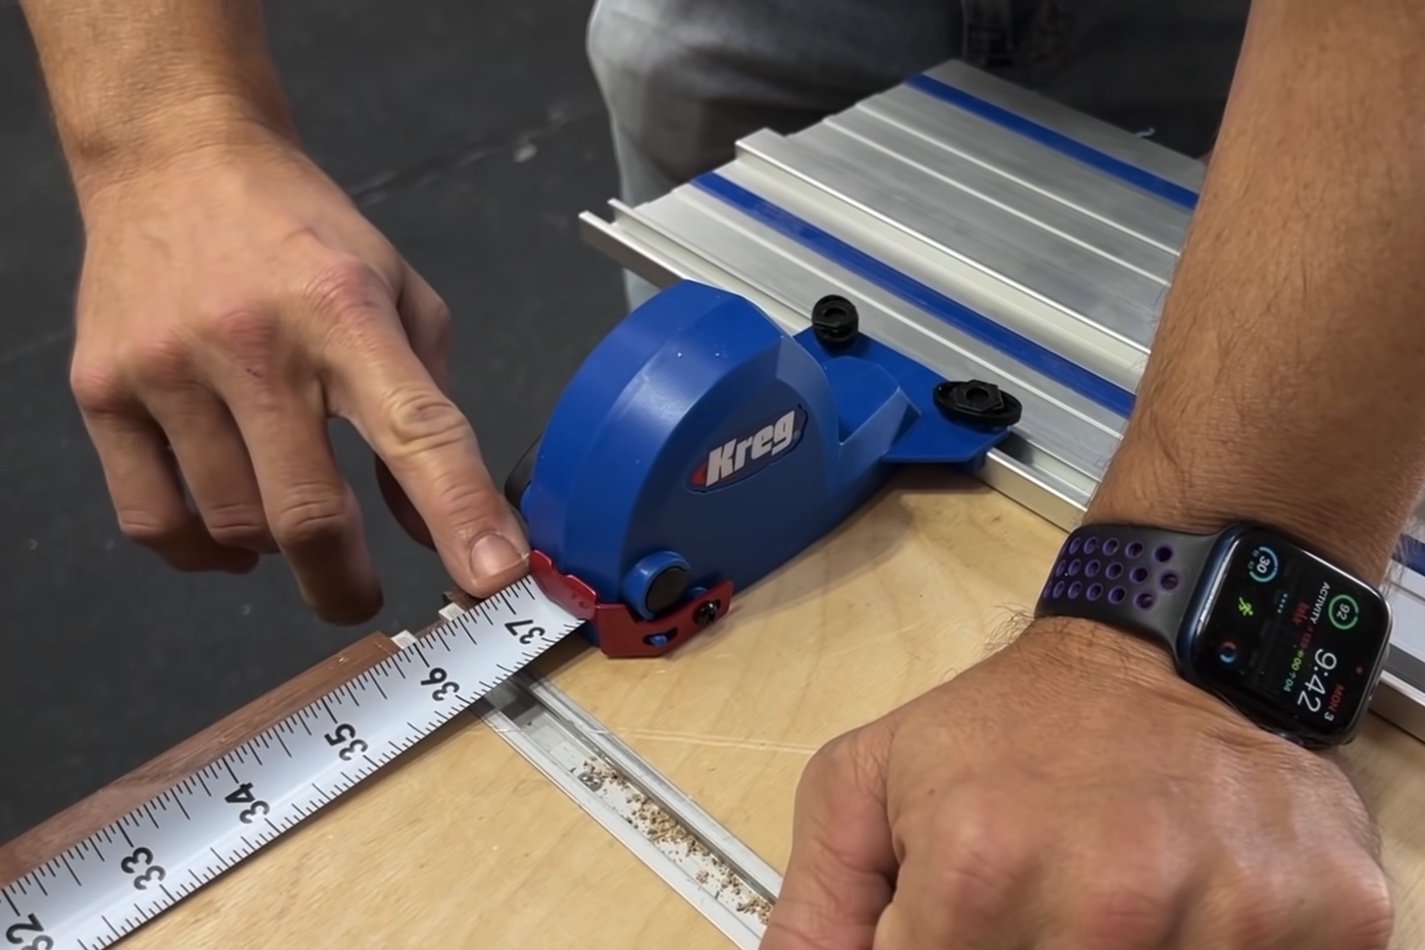

On the side of the parallel guide, you’ll notice a little set screw in the red metal indicator bar. You can loosen that screw to allow for some micro adjustability. Those parallel guides are a quick and easy way to set your track saw when you’re making repeatable cuts. The only thing I don’t care for is how they connect on the track with the plastic thumbscrews. It’s okay. They could be better, but they work just fine.

Another accessory is a rip guide. The way it works is that once it’s connected to the track, the guide bar goes underneath the track to make contact with your workpiece. The guide bar has measurements on it, and you move that bar until the length or rip cut you want lines up with the window on the outside edge of the guide’s body.


The rip guides work really well for setting up repeatable rip cuts between 0” to 13”, but they’re just meh. As my wife says, if something’s just meh, you just need to move on from it. I really don’t care for the rip guides. They remind of the Kreg rip cut circular saw guide. I’ve used that on multiple projects on my channel. That guide works with any circular saw. The rip guides work from 0” to 13”, and the parallel guides pick up at 12”. This leaves a gap where you can’t substitute one set of guides for the other one.
I really don’t think you need the rip guide. I’m not going to say they’re bad, but they’re not great. You don’t want to be in that middle ground (I wouldn’t think) for something like that. The clear window that you use to set your measurement on the rip guides are just some clear plastic, and they fall off really easy. I’m not sure where one of them is anymore.

Conversely, the parallel guides are well made. There’s good tension on the tape measure. They’re plastic too, but still feel a little more solid, and I like them a lot better.
Another thing I don’t really care for is the end piece that supposed to keep your cord and dust hose from getting caught on the end. It works, but it doesn’t stay on the track very well. That’s mainly because there’s only one point of contact with the knob that tightens down in that t-track groove. While making the video for YouTube, there were times you didn’t even see it on the track. It kept coming off, so I put it in a drawer.

One thing that is pretty cool is the saw comes with a good-sized bag that’s big enough to carry your saw, your parallel guides, and your rip guides. It zips up for easy storage. It’s also nice for carrying from jobsite to jobsite. Even with everything in the bag, it’s not all that heavy.

So, the Kreg track saw is actually a part of what they call an Adaptive Cutting System. The only part of that system that I don’t have is the project table. If there’s enough interest in the 731 community, I’ll see about getting my hands on the project table to do a review on.
After using this saw for the whole closet project, I can say this is a good tool. I think it’s worth the price they’re asking for it. I just wish they included an extra track, and I also wish the rip guides were a little better. The saw itself and the track are really good. One thing I did notice after multiple cuts is that even with the zero clearance from the track and the splinter guard in place, it did start splintering a little bit. That’s probably because the saw blade had started getting a little dull, because I made a lot of cuts with it.
Other than that, I give this tool a thumbs up. It’s a good tool and a good system.
Tools in This Article:
Kreg Track Saw - https://amzn.to/46ut1JT
Kreg Extra Track - https://amzn.to/46atNMa
Kreg Parallel Guides: https://amzn.to/46fA8pN
Kreg Rip Guides: https://amzn.to/3PAeJAz
Kreg Rip Cut (fits most any circular saw): https://amzn.to/3PWDBDZ
Adaptive Cutting System with Project Table, Saw, & Track: https://amzn.to/3rzvUuc
Budget Track Clamps: https://amzn.to/3qmRy18
You can watch the full video review here - https://youtu.be/zHhpDf08mss?si=tO4Unvj7ts6es6rR
Greatest Free Gift I've Ever Received: http://story4.us/731Woodworks