
Pallet Anchor Wall Art
Pallet Anchor Sign (Video at the bottom of this post)

My wife and I built this Anchor Wall Art in just a few hours, out of pallet wood. This a great DIY project! This DIY pallet wood project is easy, as long as you have an artistic person to help! Thankfully my wife, Amy, is very talented. This wall art sign came out absolutely beautiful and will now be a fixture in our home. We love creating and this was a fun project that doesn’t take much money at all. It’s actually a cheap DIY project.

Breaking down the pallet
All we used for this project was an old pallet that I was given. I got this pallet at the lumber store. I have gotten them for free at Atwood’s (It’s a farm store in the south). Many places will give you pallets if you just ask. Other than the pallets, we bought the anchor at Wal-Mart. Amazon has the same one (linked below). We also used a brad nailer (you can use regular hammer and nails), and of course the hanging hardware which was also purchased at Wal-Mart (Amazon has them as well).
We started by breaking down the pallet. I just used my circular saw to cut the boards instead of trying to pry them loose on each end. I did pry the middle board loose. If you try to pry the ends off without the proper tools, they can break and split.
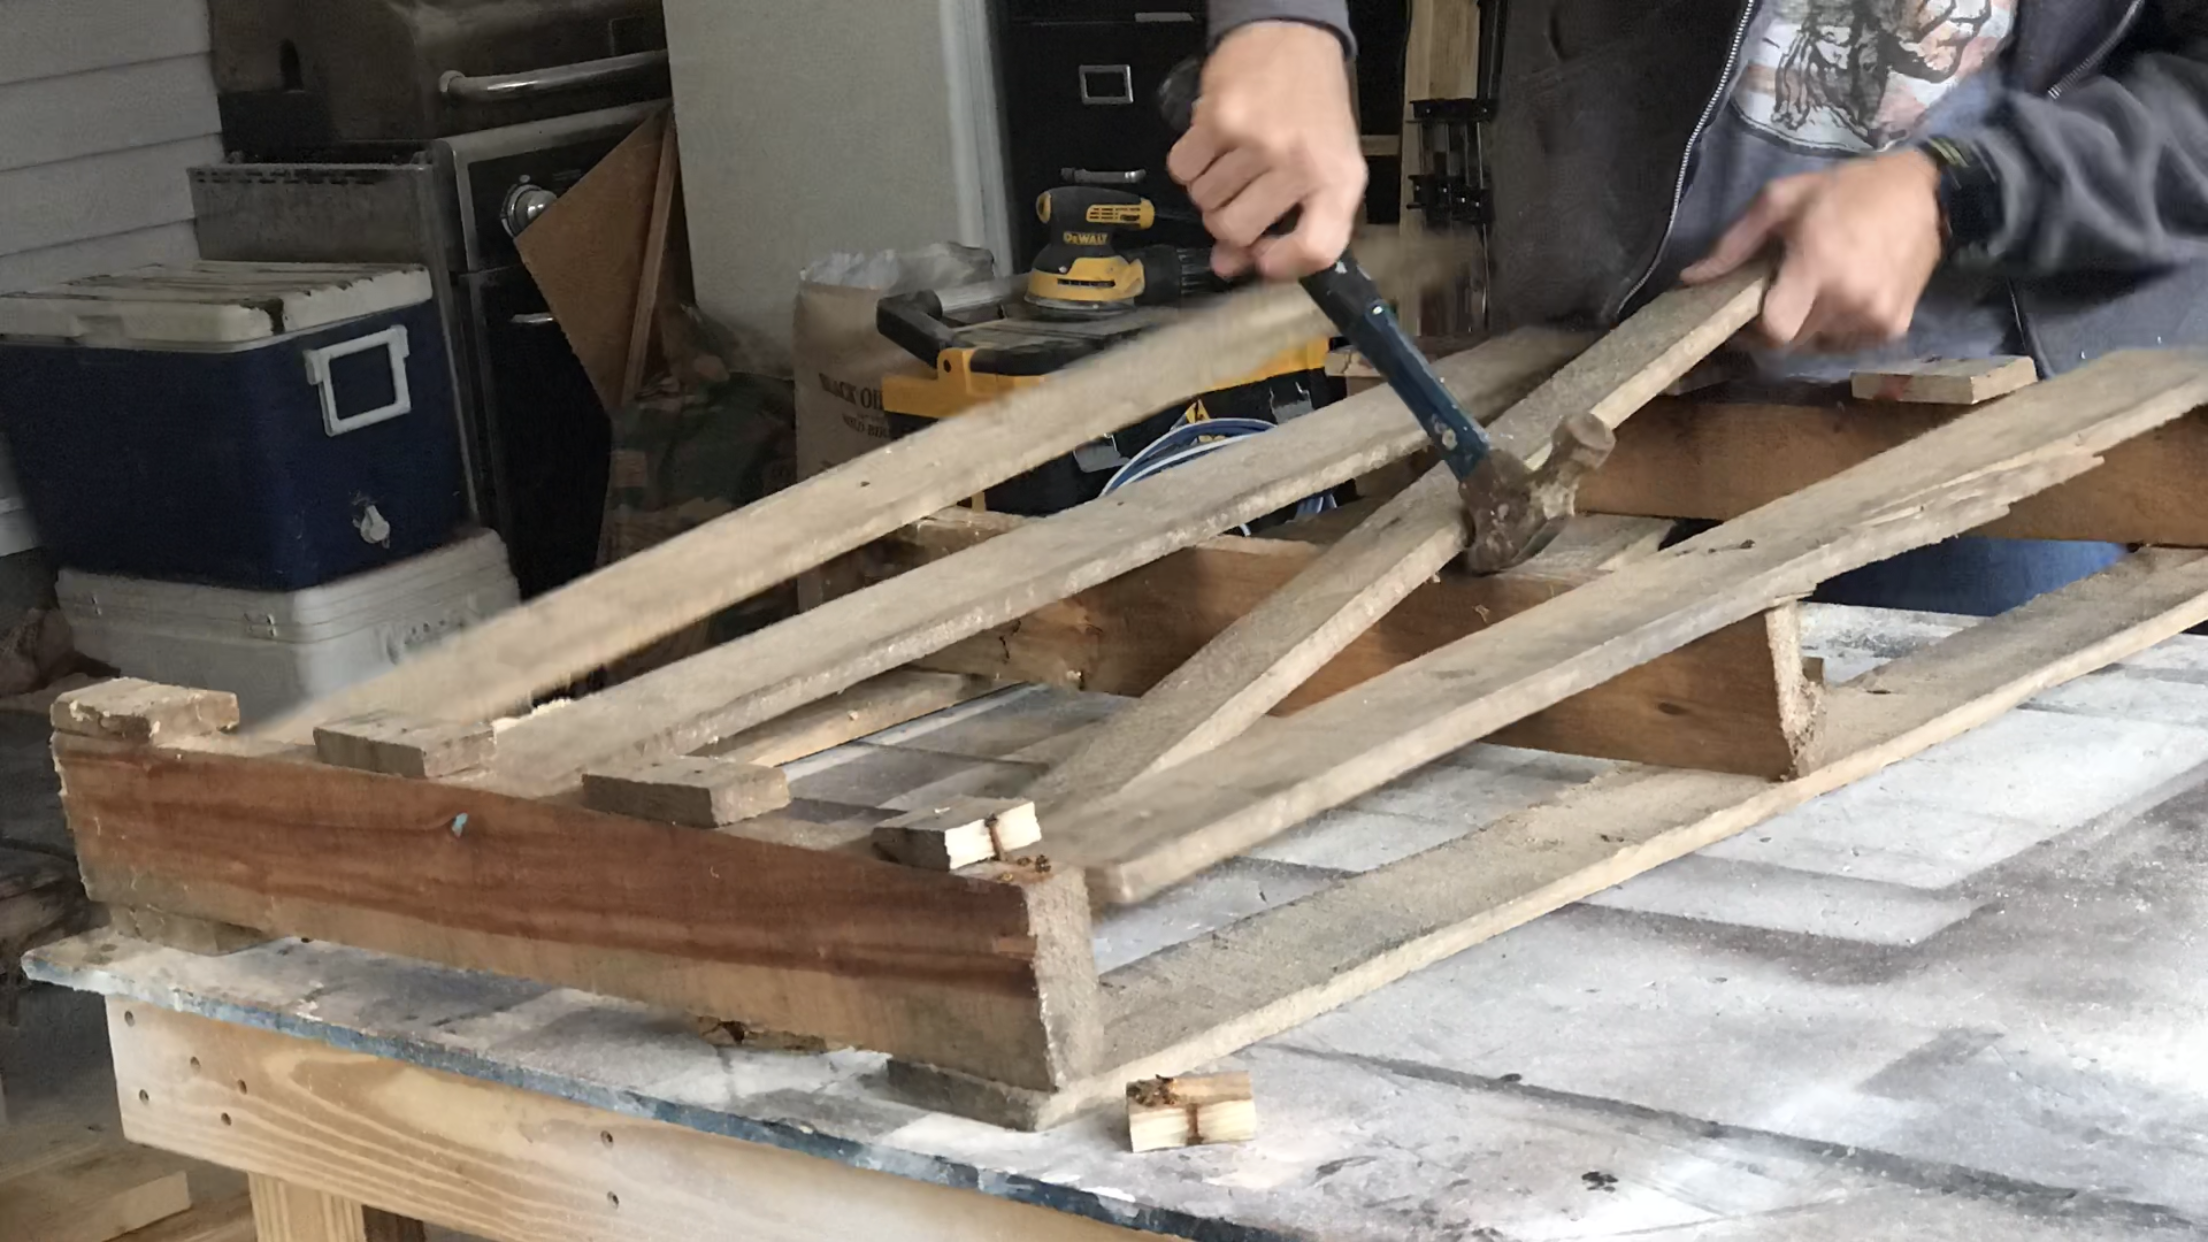
Breaking down the pallet

Attaching the vertical boards
We cut 3 of the boards longer than the other 2 to give it a staggered look. Then, using another board from the pallet, we layed it vertical and attached it to the horizontal boards with 1" brad nails. You can use finish nails and a hammer if you don't have brad nails. Next, we used a belt sander to slightly sand the front of the sign. You can use an orbital sander or hand sand. The goal here was not to sand the boards smooth. We wanted the rough, rustic look so we just sanded enough to knock the excessive rough off the boards.

Sanding
After sanding, Amy used paint pens and acrylic paint to draw the lettering on the sign. It took multiple coats to get the desired look we were looking for. Once the lettering was dry, we used General Finishes Arm-R-Seal Oil and Urethane clear coat to deepen the color of the wood and seal the lettering.

Artwork
Next step was attaching the hanging hardware. We picked ours up at Wal-Mart but Amazon has them as well. We used 2 - D-ring hardware and picture hanging wire. Using hurcules hooks in the wall to hang the sign.
Below is a list of supplies that I used for this project. (affiliate links)
Tools and supplies I regularly use https://www.731woodworks.com/#/tools-i-use/

Clear Coat
General FInishes Arm-R-Seal https://goo.gl/Zuibef
Wooden Anchor http://amzn.to/2E9rXlh
Sharpie Paint Pens http://amzn.to/2DZCIar
Elmer's Paint Pens http://amzn.to/2EDUwEW
Apple Barrel Acrylic Paint http://amzn.to/2BTEy6J
Picture Hanging Hardware http://amzn.to/2DY2M1x and wire http://amzn.to/2EC4IxQ
Hurcules Hooks http://amzn.to/2EEjcNU
I'm using TubeBuddy to help grow my Channel. If you have a channel I think it can help you too! Check it out here (affiliate link) https://www.tubebuddy.com/731woodworks

In the video below I show you step by step how to build wall decor. We use pallet wood to build the anchor wall art. This is an inexpensive way to add decor to your home.
